Lighting in photography is one of the most vital elements to master and can make the difference between a good photo and a spectacular one. It is the fundamental force that sculpts subjects, defines mood, and dictates the overall aesthetic and emotional impact of an image. Far from being a mere technical consideration, light is the artist’s primary medium, transforming a scene from a flat visual record into a compelling narrative. Whether a photographer is capturing the golden hues of sunrise over a misty valley, the dramatic shadows within a dense forest, or the intricate details of wildlife backlit by a setting sun, an astute understanding and effective manipulation of light are paramount to elevating their work to new heights of artistic expression and technical proficiency.
This comprehensive guide delves into the multifaceted world of photographic lighting, offering insights and tutorials designed to empower nature photographers across various disciplines. From deciphering the nuances of light in expansive landscapes to illuminating the hidden wonders beneath the ocean’s surface and magnifying the delicate intricacies of the macro world, mastering light is a journey that profoundly impacts every frame captured.
The Foundational Principles: Understanding Light’s Language
To truly master lighting, one must first comprehend its fundamental characteristics. Light is not a singular entity but a dynamic force with varying qualities, directions, and temperatures, each capable of profoundly altering the perception of a subject.
1. Quality of Light: Hard vs. Soft
The quality of light refers to the hardness or softness of the shadows it creates.
- Hard Light: Characterized by sharp, well-defined shadows and high contrast. This typically occurs under direct sunlight, especially midday, or from a small, undiffused artificial light source. Hard light can be used effectively to create drama, emphasize texture, and define strong geometric shapes. However, it can also lead to harsh highlights and deep, unflattering shadows, particularly in portraits or delicate subjects.
- Soft Light: Produces gentle, gradual transitions between light and shadow, with minimal contrast. This is often found on overcast days, in open shade, or when using large diffusers with artificial light sources. Soft light is highly forgiving, ideal for capturing intricate details, rich colors, and creating a more serene or ethereal mood. It provides a more even illumination, reducing the risk of blown-out highlights or crushed blacks. The decision between hard and soft light is a foundational artistic choice that sets the tone for an image.
2. Direction of Light: Shaping the Subject
The angle from which light strikes a subject dramatically influences its perceived shape, texture, and volume.
- Front Lighting: Occurs when the light source is directly in front of the subject, illuminating it evenly. While it provides good detail and color saturation, it can flatten the subject, reducing dimensionality and making it appear less dynamic.
- Side Lighting: Originates from the side of the subject, creating pronounced shadows and highlights that emphasize texture and depth. This direction is excellent for revealing contours and adding a three-dimensional quality to the scene. It can evoke a sense of mystery or drama.
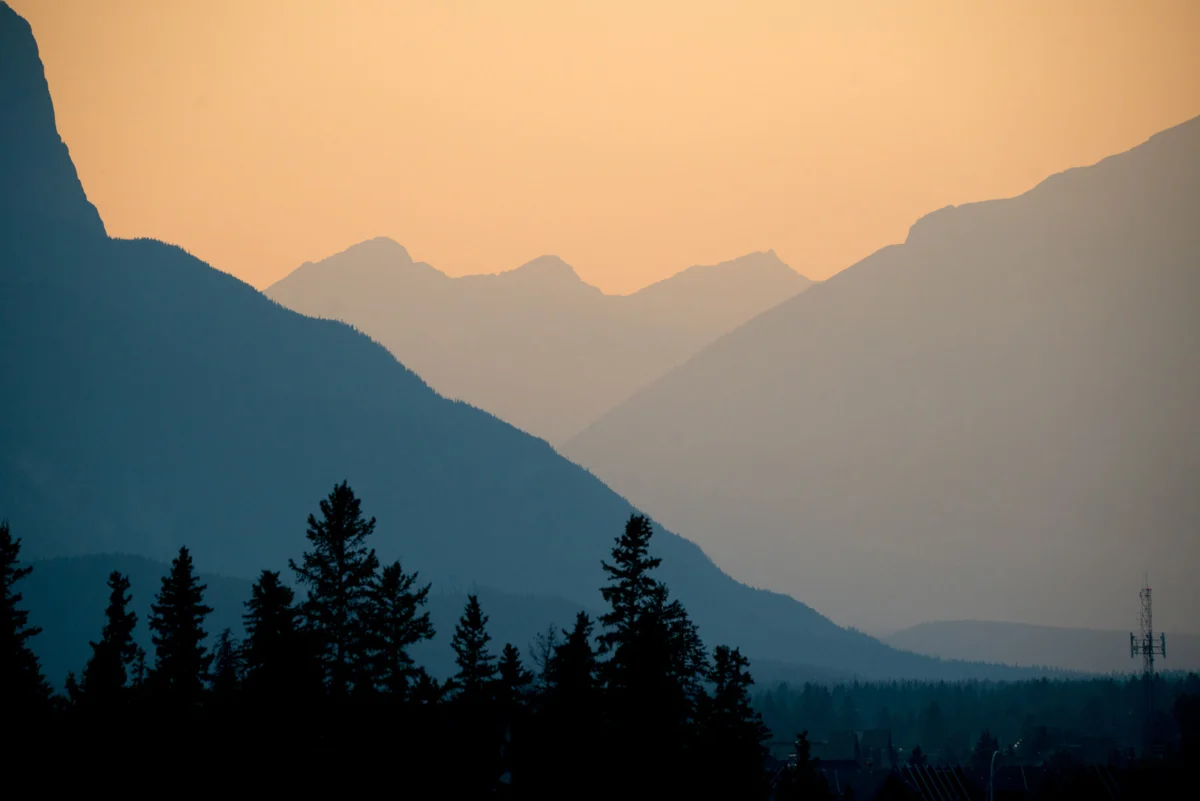
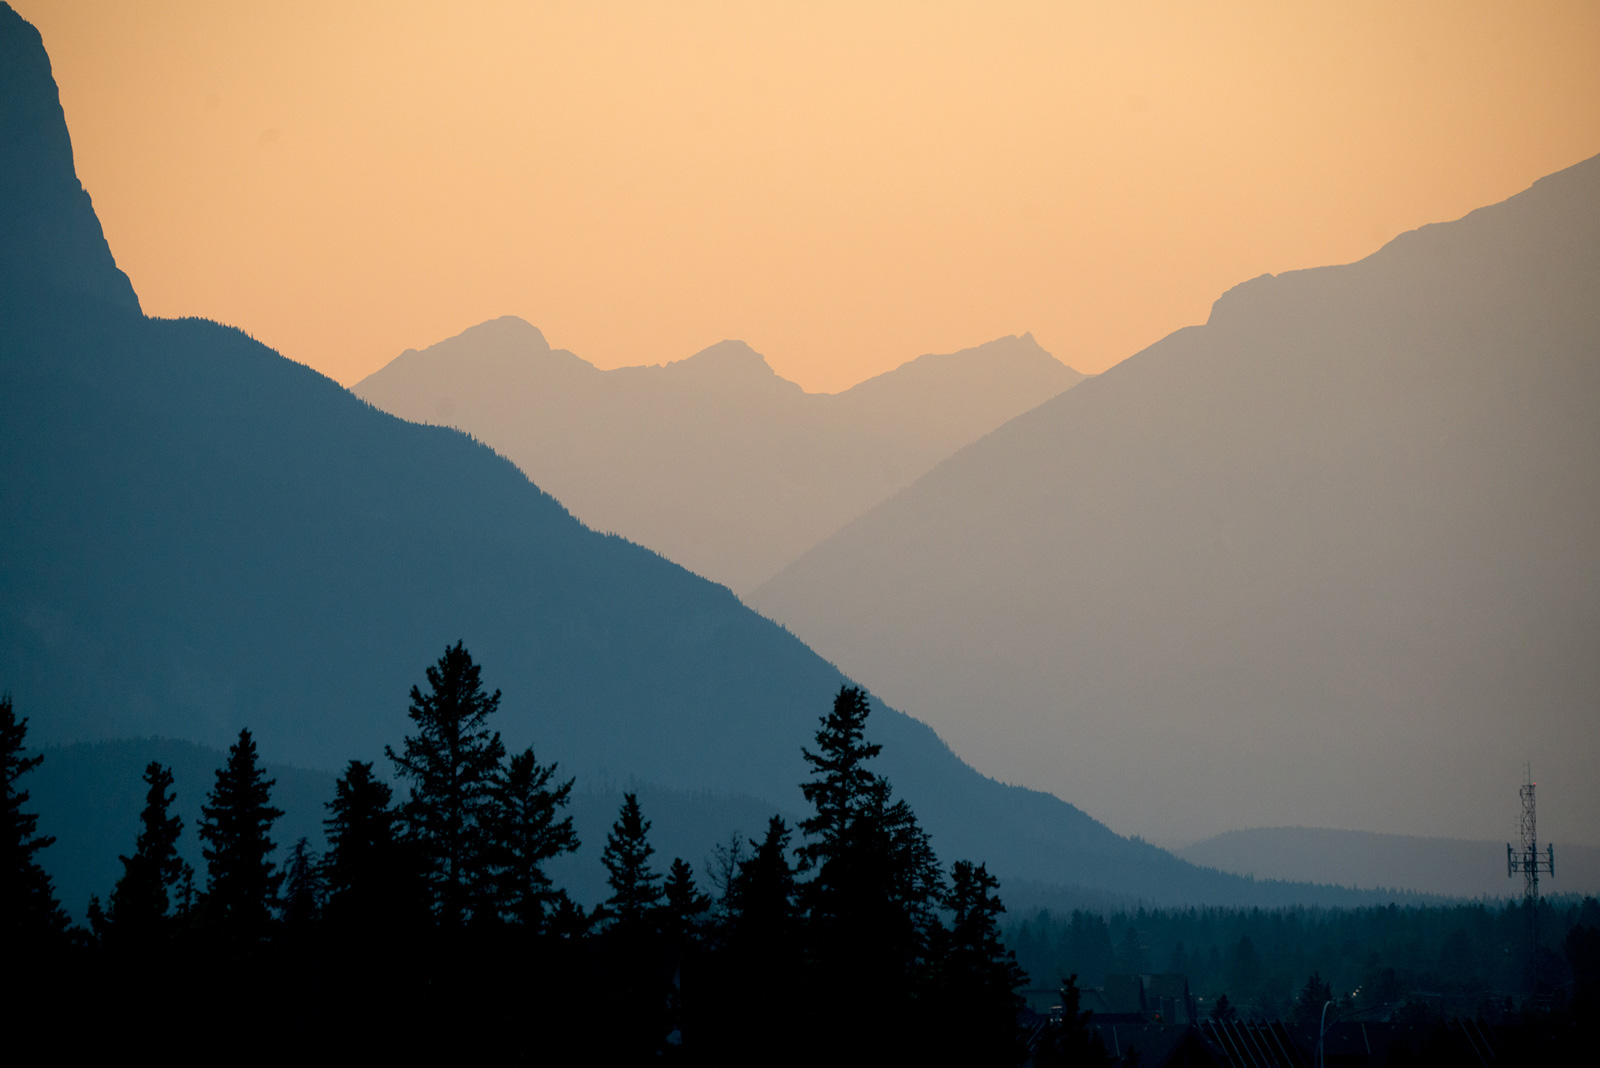
- Backlighting: Positions the light source behind the subject, often resulting in a silhouette or a glowing "rim light" around the edges. Backlighting is powerful for creating dramatic mood, separation from the background, and highlighting the subject’s outline. It requires careful exposure management to avoid losing detail in the subject while maintaining highlight integrity.
- Top Lighting: Common during midday when the sun is directly overhead. It creates strong shadows under brows, noses, and chins, often leading to unflattering results. However, it can be utilized creatively in certain architectural or abstract contexts.
- Bottom Lighting: Less common in natural scenarios, often achieved with artificial lights placed below the subject. It creates an unusual, often eerie or dramatic effect, commonly seen in horror cinematography.
3. Color Temperature: The Emotional Palette
Light possesses a color temperature, measured in Kelvin (K), which influences the overall color cast of an image.

- Warm Light: Lower Kelvin values (e.g., 2,000-4,000K) produce warm tones like oranges, reds, and yellows. This is characteristic of sunrise, sunset (the "golden hour"), and incandescent bulbs, often evoking feelings of warmth, comfort, and nostalgia.
- Cool Light: Higher Kelvin values (e.g., 5,000-10,000K) result in cool tones like blues and purples. This is typical of midday shade, overcast skies, or fluorescent lighting, often conveying a sense of calm, coldness, or serenity.
Understanding color temperature allows photographers to make deliberate choices about white balance, either to accurately render colors or to intentionally introduce a specific mood.
4. Intensity of Light: Controlling Exposure
The intensity, or brightness, of light directly affects exposure. Too much light can lead to overexposed images with blown-out highlights, while too little results in underexposed images lacking detail in the shadows. Mastering intensity involves using the exposure triangle (aperture, shutter speed, ISO) to achieve a balanced exposure that accurately captures the scene’s dynamic range. This often means making compromises, especially in high-contrast situations, or employing techniques like bracketing or graduated neutral density filters.
Lighting in Wildlife Photography: Capturing Dynamic Moments
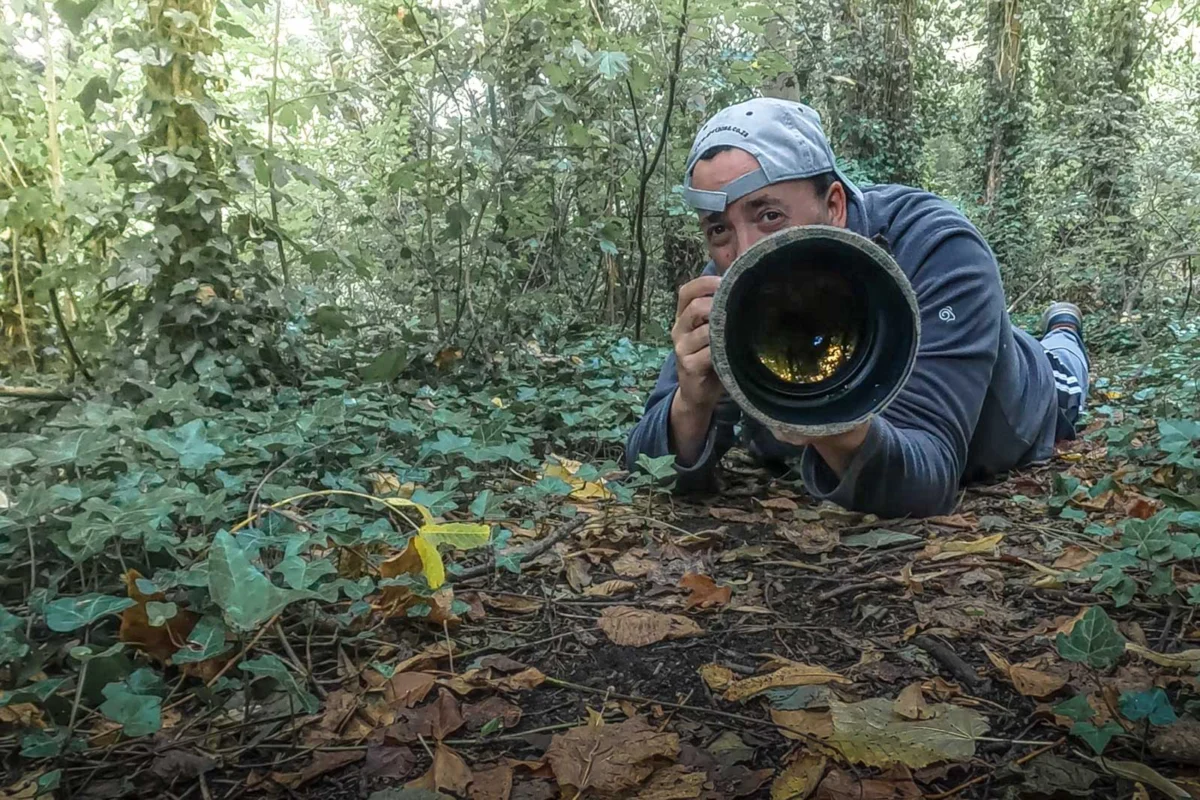
For wildlife photographers, light is not just an aesthetic tool; it’s a critical factor in revealing the character and environment of often elusive subjects. To create images of wildlife that truly stand out, it’s imperative to understand how light falls, the qualities it possesses, and how to harness it effectively. Patience and an acute awareness of the environment are key, as wildlife rarely cooperates with ideal lighting conditions.
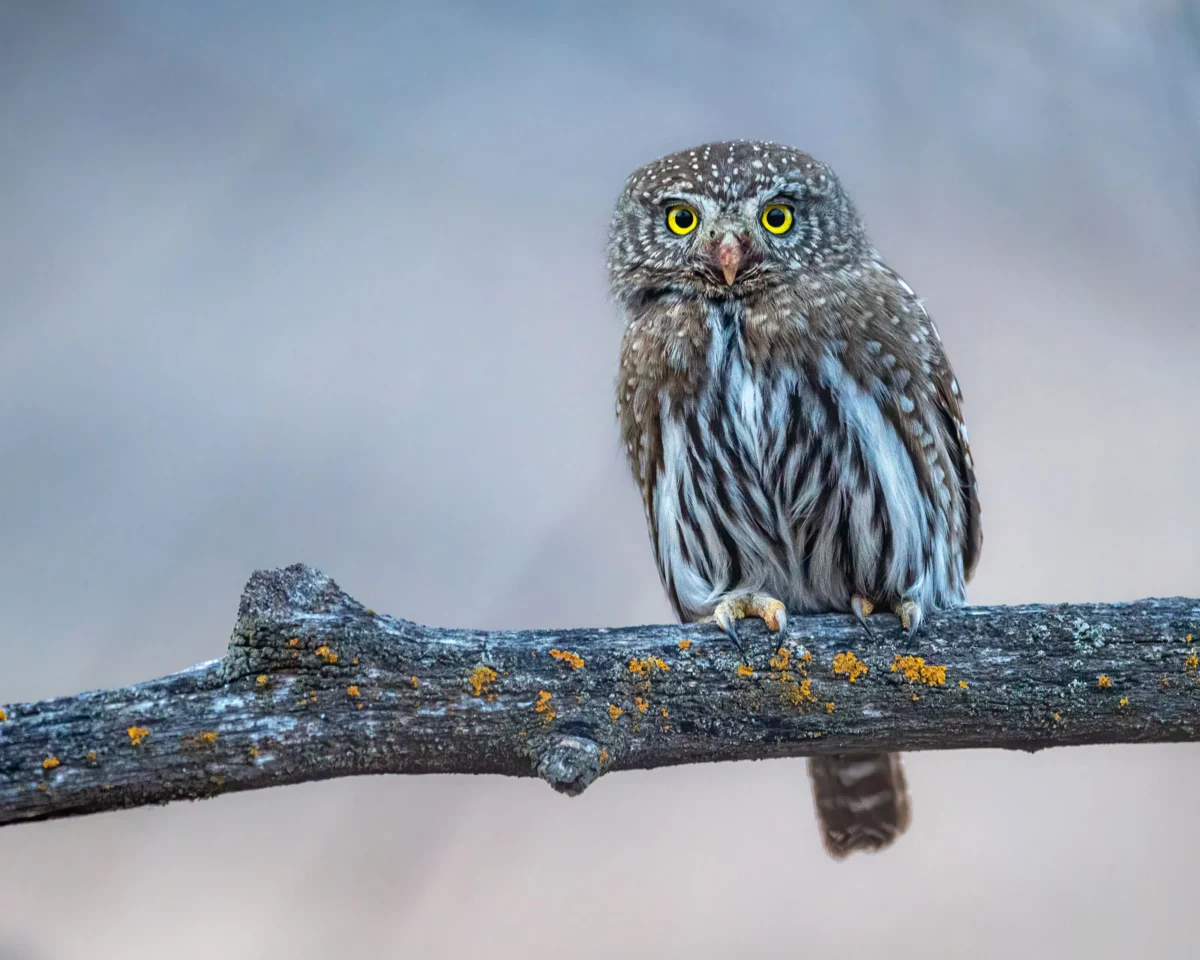
- The "Golden Hours" Advantage: The periods shortly after sunrise and before sunset are universally revered. The low angle of the sun during these times creates soft, warm, directional light that beautifully sculpts the animal, highlighting its textures and contours. Backlighting during these hours can create stunning rim-lit effects, separating the subject from a dark background and adding a magical glow. For instance, a lion’s mane or a bird’s feathers caught by the golden light can create an ethereal halo.
- Overcast Days for Detail: While dramatic light is often sought, overcast conditions offer a large, natural softbox, providing diffused, even lighting. This is excellent for capturing intricate details in feathers, fur, and scales without harsh shadows or blown highlights. It’s particularly effective for forest animals or subjects in dappled light where high contrast would be problematic.
- Mitigating Harsh Midday Sun: The intense, direct light of midday is generally avoided due to harsh shadows and high contrast. However, experienced photographers can adapt by seeking shade, using fill flash to lift shadows, or focusing on high-contrast scenes that benefit from strong light, such as animals against reflective water. Some wildlife, like birds in flight against a bright sky, can be effectively silhouetted in midday sun.
- Ethical Considerations: When using artificial light, particularly flash, wildlife photographers must prioritize the well-being of the animals. Low-power flash, diffusers, and avoiding direct eye contact with sensitive species are crucial.
Leading wildlife photographers often emphasize the importance of observing animal behavior in relation to light. "Anticipating the animal’s movement and understanding how light will interact with it in the next moment is crucial," states fictional renowned wildlife photographer Dr. Anya Sharma. "It’s a dance between patience, technical skill, and an almost intuitive connection to the environment."

Lighting in Landscape Photography: Painting with the Environment
Understanding lighting in landscape photography goes beyond merely mastering exposure; it is about recognizing, planning for, and adapting to ever-changing atmospheric and celestial conditions. One of the most powerful skill sets a landscape photographer can possess is the ability to identify, plan, and react to the dynamic interplay of light and environment.
- The Power of the Magic Hours: Like wildlife photography, landscape photography thrives during the golden and blue hours. The low angle of the sun casts long, dramatic shadows that define topography and add depth. The warm, saturated colors of the golden hour infuse scenes with a captivating glow, while the cool, diffused light of the blue hour creates a tranquil, mysterious atmosphere, often just before sunrise or after sunset. Planning tools like PhotoPills or The Photographer’s Ephemeris have become indispensable, allowing photographers to predict sun and moon positions, analyze light direction, and optimize shooting times for specific locations.
- Misty and Foggy Conditions: These atmospheric conditions act as giant natural diffusers, scattering light and softening the scene. Fog and mist reduce contrast, simplify compositions, and create a sense of mood, depth, and isolation. Light rays piercing through fog ("god rays") can be particularly stunning, adding a dramatic, almost ethereal quality to forests or mountainscapes.
- Stormy Skies and Dramatic Light: Overcast, stormy weather, though challenging, can offer incredible opportunities. The broken clouds can filter light unevenly, leading to dramatic shafts of light piercing through dark skies, highlighting specific elements in the landscape. The contrast between brooding clouds and illuminated foregrounds can create incredibly powerful and emotive images.
- Night Photography and Astrophotography: Under the cloak of darkness, photographers harness ambient light from the moon and stars, or introduce artificial light through light painting. Long exposures capture the faint glow of the Milky Way, star trails, or moonlit landscapes, requiring a deep understanding of low-light sensor performance and careful management of light pollution. Light painting, using flashlights or LED panels, allows for selective illumination of foreground elements, adding depth and interest to nocturnal scenes.
"Light is the narrative of the landscape," observes veteran landscape photographer Mark Thompson. "It tells the story of the time of day, the weather, and the emotions of the scene. A truly great landscape shot isn’t just about the view; it’s about the light that defines it."
Lighting in Underwater Photography: Navigating a Shifting Spectrum

Learning how to find, create, and use light underwater presents a unique set of challenges and opportunities. The underwater environment dramatically alters the properties of light, making it one of the most essential and difficult skills to master, yet one that will undeniably make a photographer’s work stand out from the crowd.
- The Absorption of Light and Color Shift: As light penetrates water, it is progressively absorbed, starting with the warmer colors (reds, oranges, yellows) first. At shallow depths, ambient light is plentiful, but colors begin to desaturate. At greater depths, only blue and green light remain, creating a monochromatic world. This phenomenon necessitates the use of artificial lighting to restore the full spectrum of colors.
- Ambient Light Strategies: In shallow waters, especially under clear, sunny conditions, ambient light can be sufficient. Photographers can utilize sunbursts or "god rays" piercing the surface for dramatic effects, or capture the vastness of the ocean with wide-angle shots of large subjects like whale sharks or manta rays, where the natural blue hues are part of the aesthetic. Understanding the sun’s position relative to the water surface is crucial for maximizing ambient light.
- Artificial Light: Strobes and Video Lights: For bringing back vibrant colors, adding contrast, and isolating subjects, external strobes (flashes) or continuous video lights are indispensable. Strobes are powerful and can freeze motion, while video lights offer a constant preview of lighting effects. Positioning these lights is an art form itself – avoiding backscatter (light reflecting off particles in the water), achieving even illumination, and creating depth through careful angling are key. Different setups, from single to dual strobes, are used depending on the subject size and desired effect.
- Backlighting Underwater: Just like on land, backlighting can create stunning silhouettes of marine life or produce dramatic rim lighting effects, especially effective against a bright surface or a contrasting background. It requires precise strobe placement and exposure control to prevent overexposure of the background.
- Blackwater Photography: This specialized genre involves shooting nocturnal plankton and deep-sea creatures that migrate to shallower waters at night, often in pitch darkness. Here, powerful continuous lights are used to attract and illuminate subjects, turning the vast dark ocean into a studio. This demands meticulous light placement and an understanding of how light interacts with translucent organisms.
The implications of mastering underwater lighting extend beyond aesthetics; it allows for scientific documentation of marine life in its true colors, raising awareness about ocean conservation. "The ocean is a realm of ever-changing light," says marine photographer Dr. Elena Rodriguez. "Each dive is a lesson in adaptation. Our lights don’t just illuminate; they reveal the hidden beauty that the water would otherwise steal."
Lighting for Macro Photography: Illuminating the Miniature World
Whether photographing amphibians, insects up close, or the intricate details found in nature’s smallest elements, lighting remains a critical element in macro photography. The challenge lies in illuminating tiny subjects with precision, controlling depth of field, and revealing textures that are often invisible to the naked eye.

- Natural Light with Diffusion: Ambient light, particularly on overcast days or in open shade, provides excellent soft, diffused illumination for macro subjects. Reflectors can be used to bounce light into shadowy areas, while small diffusers (like translucent panels) can soften direct sunlight without blocking too much light. This approach is ideal for capturing delicate textures and subtle color gradients without harsh contrasts.
- Artificial Light: Flash and LEDs: Due to the often limited natural light at macro distances and the need for fast shutter speeds to freeze movement (especially with insects), artificial light sources are frequently employed.
- Ring Flashes: Mount directly to the lens, providing even, shadowless illumination ideal for flat subjects or achieving uniform lighting.
- Off-Camera Flashes/Small Strobes: Offer more creative control over light direction, allowing photographers to sculpt the subject, create rim light, or emphasize texture with side lighting. These often require diffusers (softboxes, light tents) to avoid harshness.
- LED Panels: Provide continuous light, useful for focusing, composition, and video, though often less powerful than flash for freezing action.
- Controlling Contrast and Depth: In macro, the depth of field is extremely shallow. Lighting can help manage this. Even, diffused light can make focus stacking easier by minimizing shadows that would shift between frames. Backlighting can highlight translucent elements like insect wings or plant leaves, making them glow against a darker background.
- Environmental Awareness: When using artificial light with live subjects, minimizing disturbance is key. Using diffusers and lower power settings can reduce stress on sensitive creatures.
"Macro photography is about revealing a hidden universe," explains macro specialist Dr. Kenji Tanaka. "Light is our microscope, our tool for showing what is otherwise unseen. Every angle, every shade, uncovers a new layer of wonder."
In Conclusion: The Universal Language of Light
Whatever the subject – from the majestic sweep of a mountain range to the intricate details of a dewdrop on a spiderweb – lighting is the crucial element to master for creating memorable and standout images. It is the thread that weaves together the technical aspects of photography with its artistic potential. The journey to mastering light is continuous, involving keen observation, thoughtful planning, and persistent experimentation.
Photographers are encouraged to constantly observe how light falls in different environments, noting its qualities, directions, and colors, even when not holding a camera. This develops an intuitive understanding that becomes invaluable in the field. By harnessing the power of lighting in photography, practitioners can move beyond mere documentation to craft compelling visual stories, imbue their work with emotion, and truly elevate their art to the next level.

We eagerly anticipate seeing how you integrate these principles into your own creative vision. Don’t forget to share your illuminated images with us – let your light shine!