

The Foundational Challenge of Digital Compositing: Mastering Light and Shadow
Digital compositing, the process of combining multiple images into a single, cohesive photograph, has become indispensable across industries. From product showcases that blend studio shots with aspirational lifestyle backdrops to elaborate editorial spreads and cinematic visual effects, the ability to manipulate and merge visual elements is a highly sought-after skill. However, the creation of truly convincing composites presents significant challenges, particularly when it comes to replicating natural light and shadow.
Manually adding shadows to a composited object is a task that demands a deep understanding of physics, optics, and artistic intuition. A retoucher must consider a multitude of factors:
- Light Source Analysis: Identifying the direction, intensity, and quality (hard or soft) of the primary and secondary light sources in the background image. This dictates the angle and crispness of the shadow.
- Perspective and Plane Interaction: Shadows are not flat; they conform to the contours and perspective of the surface upon which they fall. Accurately mapping a shadow onto a three-dimensional plane within a two-dimensional image requires precise geometric consideration.
- Falloff and Opacity: Shadows rarely possess uniform density. They typically soften and lighten as they extend further from the object, a phenomenon known as falloff. Replicating this gradual transition in opacity and blur is crucial for realism.
- Color Cast: Shadows are not always pure black or neutral gray. They often pick up subtle color casts from ambient light, the color of the surface they fall upon, or even the color of the object casting the shadow. Ignoring these nuances can result in an unnatural appearance.
- Interaction with Texture: A shadow’s appearance can change dramatically based on the texture of the surface it falls on. A shadow on rough concrete will differ from one on smooth polished wood.
Failing to account for any of these variables can quickly break the illusion of realism. Objects might appear to float above the surface, cast shadows in the wrong direction, or exhibit an unnatural harshness or softness that betrays their artificial insertion. The sheer complexity and time investment required for expert manual shadow creation often represent one of the most significant bottlenecks in post-production workflows. Industry estimates suggest that detailed shadow work can consume a substantial portion of a retoucher’s time on complex projects, contributing to increased project costs and turnaround times.
KelbyOne and the Pursuit of Photographic Realism

In response to these persistent challenges, educational platforms like KelbyOne have emerged as vital resources for photographers, retouchers, and digital artists seeking to refine their craft. KelbyOne, a leading online training community, provides a wealth of courses designed to empower visual creatives with practical, actionable techniques. It is within this context that instructors like Dennis Dunbar, a highly respected figure in the digital imaging community known for his meticulous approach to photo manipulation, share insights that streamline complex processes without compromising quality.
Dunbar’s latest technique, aptly dubbed "Steal That Shadow," offers a deceptively simple yet profoundly effective solution to one of compositing’s most vexing problems. Rather than painstakingly recreating shadows from scratch, his method advocates for leveraging existing, naturally captured shadows from original source images. This approach not only saves considerable time but inherently guarantees a level of realism that is challenging to achieve through manual construction, as it utilizes actual light data.
The "Steal That Shadow" Methodology: A Paradigm Shift in Shadow Management

The core principle behind Dunbar’s technique is a clever exploitation of Photoshop’s blending modes and adjustment layers. The method begins with the premise that if an object is initially photographed with its natural shadow intact on a clean, preferably white, background, that shadow is a valuable asset, a "gift" of real light, real falloff, and real contact with a real surface. Discarding this information is a missed opportunity.
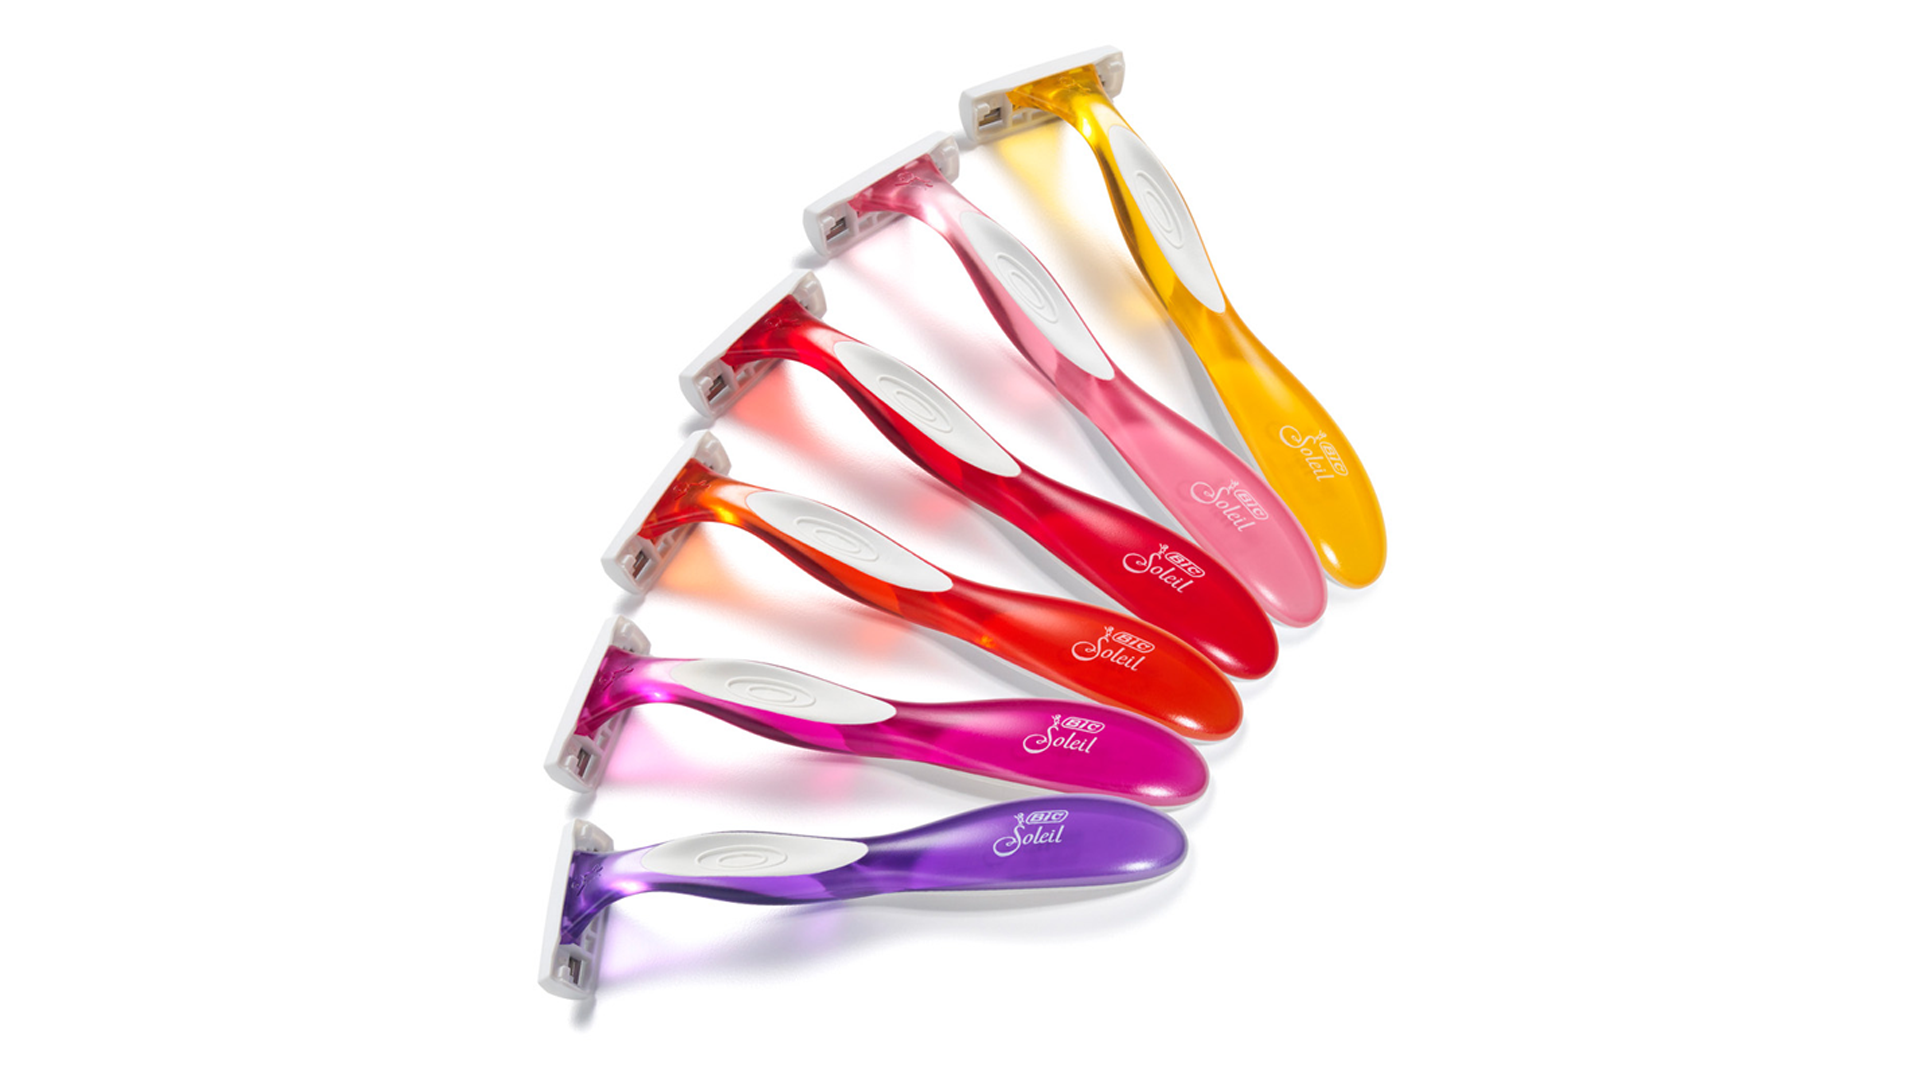
Consider a recent project undertaken by Dunbar in collaboration with photographer Anthony Nex. Nex had meticulously shot six distinct colored razors, each individually captured on a pristine white background. The objective was to composite these razors into a single, seamless group image. While the initial steps—selecting, masking, and positioning each razor—were relatively straightforward, the ultimate success of the composite hinged entirely on the authenticity of the shadows. The solution, as Dunbar discovered, lay within the original images themselves.
Deconstructing the Approach: Blending Modes and Tonal Manipulation

Dunbar’s technique centers on a specific workflow involving Photoshop’s Blending Modes and Curves adjustment layers:
-
Layer Duplication and Organization: After the main razor elements were masked and grouped, a duplicate layer of each razor was created specifically for its shadow. These shadow layers were then organized into a separate layer group, typically positioned below the main object layers. This structured approach maintains non-destructive editing and allows for granular control over each shadow.
-
The Power of the Darken Blending Mode: The linchpin of the technique is the application of the "Darken" blending mode to each shadow layer. The Darken mode operates by comparing the pixel values of the active layer (the shadow layer) with the pixels directly beneath it (the background layer) and retaining only the darker of the two. Crucially, any pure white pixels on the shadow layer will have no effect, effectively dropping out of the composite. This means that if the background of the original razor shot is truly white, only the darker shadow pixels and the razor itself will appear.

While Darken is often ideal, Dunbar notes that "Multiply" blending mode is also a viable alternative and is worth experimenting with. Multiply works by multiplying the luminosity values of the blend layer with the base layer, almost always resulting in a darker image. It can produce richer, denser shadows but requires careful management to prevent over-darkening or loss of detail in mid-tones. The choice between Darken and Multiply often depends on the specific tonal range of the original shadow and the desired intensity.
-
Forcing the Background to Pure White with Curves: One of the most common challenges in studio photography is that a "white" background is rarely 100% pure white. Subtle variations in lighting, sensor noise, or even the slight off-white color of the backdrop can result in near-white values that, when subjected to the Darken or Multiply blending mode, can leave a faint, muddy residue across the composite.
To counteract this, a "Curves" adjustment layer is applied and clipped directly to each shadow layer. Clipping ensures that the adjustment only affects the layer immediately below it, preventing unintended changes to other parts of the composite. Within the Curves panel, the white input slider (the rightmost point on the histogram) is dragged to the left. This action forces all near-white values in the shadow layer to become pure white. Once these pixels are pure white, the Darken blending mode will ignore them, allowing only the actual shadow (and the object itself, which will later be masked out) to remain visible. This step is critical for a clean integration and can also be achieved using a Levels adjustment layer, though Curves offers more granular control and visual feedback.

-
Refining Edges with Layer Masks: Even after meticulous tonal adjustments, the perimeter of a shadow from a studio shot might still exhibit a subtle, artificial boundary. To ensure a completely natural blend, a layer mask is added to each shadow layer. Using a soft-edged brush with black paint, the retoucher can gently paint away any tell-tale lines or harsh transitions around the edges of the shadow, ensuring it dissipates organically into the new background. This non-destructive technique provides maximum flexibility for fine-tuning the shadow’s interaction with its new environment.
Beyond White: Adaptability to Diverse Backgrounds
A significant strength of the "Steal That Shadow" technique is its versatility. While the initial example uses a white background, the method is equally effective when compositing onto any color background. The Darken or Multiply blending modes operate purely on tonal comparison, independent of underlying color.

For non-white original backgrounds, an additional preparatory step is required to prevent color contamination. Before applying the Curves adjustment, a "Hue/Saturation" adjustment layer is clipped to the shadow layer, and the saturation is reduced to zero (desaturated fully). This converts any residual color from the original background into neutral gray values. Once desaturated, these gray values can then be effectively pushed to pure white using the Curves adjustment, ensuring that the final shadow maintains a natural, neutral tone without picking up an unnatural color cast from the original source. The human eye is incredibly sensitive to color inaccuracies in shadows, making this desaturation step crucial for maintaining realism.
Broader Implications and Industry Impact
The "Steal That Shadow" technique represents more than just a clever Photoshop trick; it signifies a strategic shift in compositing methodology with broad implications for the digital imaging industry:

- Enhanced Efficiency: By eliminating the need for complex manual shadow creation, retouchers can significantly reduce the time spent on post-production. This translates directly into faster project turnaround times and increased capacity for creative output.
- Unparalleled Realism: Leveraging naturally captured shadows inherently guarantees a level of authenticity that is exceedingly difficult, if not impossible, to replicate artificially. The nuances of real light falloff, contact, and interaction with surfaces are preserved, leading to more believable and high-quality final images.
- Cost Savings: For businesses, particularly in e-commerce and advertising, where high-volume product imagery is a constant requirement, the efficiency gains can translate into substantial cost savings. Reducing the hours spent on complex retouching tasks directly impacts the bottom line.
- Democratization of Advanced Techniques: By simplifying a notoriously challenging aspect of compositing, techniques like "Steal That Shadow" make advanced realism more accessible to a wider range of photographers and digital artists, regardless of their prior expertise in lighting physics.
- Consistency Across Campaigns: When working with multiple products or elements across a large campaign, this method ensures a consistent quality and style of shadow, maintaining brand aesthetics and visual coherence.
As the digital landscape continues to evolve, the demand for compelling and authentic visual content will only grow. Techniques that streamline complex workflows while simultaneously elevating quality, such as those championed by instructors like Dennis Dunbar at KelbyOne, are invaluable. They empower creatives to focus more on the artistic vision and less on the technical drudgery, ultimately pushing the boundaries of what is achievable in digital imaging. The takeaway is clear: in the pursuit of photorealistic composites, never underestimate the inherent value of real light and shadow – they are, indeed, a gift waiting to be strategically leveraged.