
Lighting in photography is one of the most vital elements to master and can make the difference between a good photo and a truly spectacular one. It is the fundamental language through which photographers communicate mood, dimension, and narrative, transforming a mere capture into a compelling visual story. Beyond simply illuminating a scene, understanding and manipulating light allows artists to sculpt form, define texture, and evoke powerful emotions, making it the cornerstone of exceptional imagery across all genres.
The profound impact of light on photographic outcomes cannot be overstated. From the delicate dance of highlights and shadows that reveal intricate details to the broad strokes of ambient light that define a landscape’s atmosphere, light is the unseen architect of visual perception. Early pioneers of photography, limited by rudimentary equipment and slow emulsions, understood this instinctively, meticulously positioning their subjects to leverage the sun’s natural intensity and direction. The evolution of photography, from the daguerreotype to modern digital sensors, has consistently seen advancements in both capturing and controlling light, underscoring its timeless relevance. Mastering this element moves a photographer from simply recording what is seen to interpreting and presenting a unique vision, elevating their work to new artistic heights.

The Foundational Principles of Light
To effectively harness light, a photographer must first grasp its fundamental qualities: intensity, direction, quality, and color. These four aspects interweave to shape the final image, dictating everything from exposure to emotional resonance.
Intensity refers to the brightness of the light source. It directly influences the exposure of an image, with brighter light allowing for faster shutter speeds or smaller apertures. However, intensity also dictates the dynamic range a camera must handle. Overly intense light can lead to blown-out highlights, while insufficient light results in muddy shadows and increased noise. Understanding how to manage intensity, whether through adjusting camera settings, using neutral density filters, or modifying the light source itself, is crucial for balanced exposures.
Direction describes the angle from which light strikes the subject. This is perhaps the most critical factor in defining form, texture, and depth.

- Frontal lighting (light source behind the photographer) provides even illumination, minimizing shadows and often flattening the subject. While good for detail, it can lack drama.
- Side lighting (light source at an angle to the subject) creates pronounced shadows and highlights, revealing texture and adding three-dimensionality, often resulting in a more dynamic image.
- Backlighting (light source behind the subject, facing the camera) can create dramatic silhouettes, ethereal rim lighting, or a soft, glowing effect, particularly effective for highlighting contours.
- Top lighting (light directly above) is common at midday and can create harsh, deep shadows, especially in portraiture, though it can be used creatively to emphasize specific elements.
- Bottom lighting (light from below) is less common in natural settings but used for dramatic, often eerie, effects.
Quality refers to the hardness or softness of light, determined by the size of the light source relative to the subject and its distance.
- Hard light, typically from a small, distant source (like the sun at noon or an undiffused flash), produces sharp, well-defined shadows and high contrast, emphasizing textures and edges.
- Soft light, originating from a large, diffused source (like an overcast sky or a softbox), creates gradual transitions between light and shadow, reducing contrast and producing a flattering, smooth appearance. Modifiers such as diffusers, softboxes, and umbrellas are essential tools for shaping light quality.
Color temperature, measured in Kelvin (K), describes the warmth or coolness of light. Lower Kelvin values (e.g., 2000K-3500K) indicate warmer, more orange/yellow light (like candlelight or tungsten bulbs), while higher values (e.g., 5000K-7000K) indicate cooler, bluer light (like daylight or shade). Digital cameras use white balance settings to compensate for different color temperatures, ensuring accurate color reproduction. However, photographers often intentionally manipulate color temperature to evoke specific moods or enhance the ambiance of a scene, such as capturing the golden hues of sunrise or the cool tones of twilight.
Lighting in Wildlife Photography
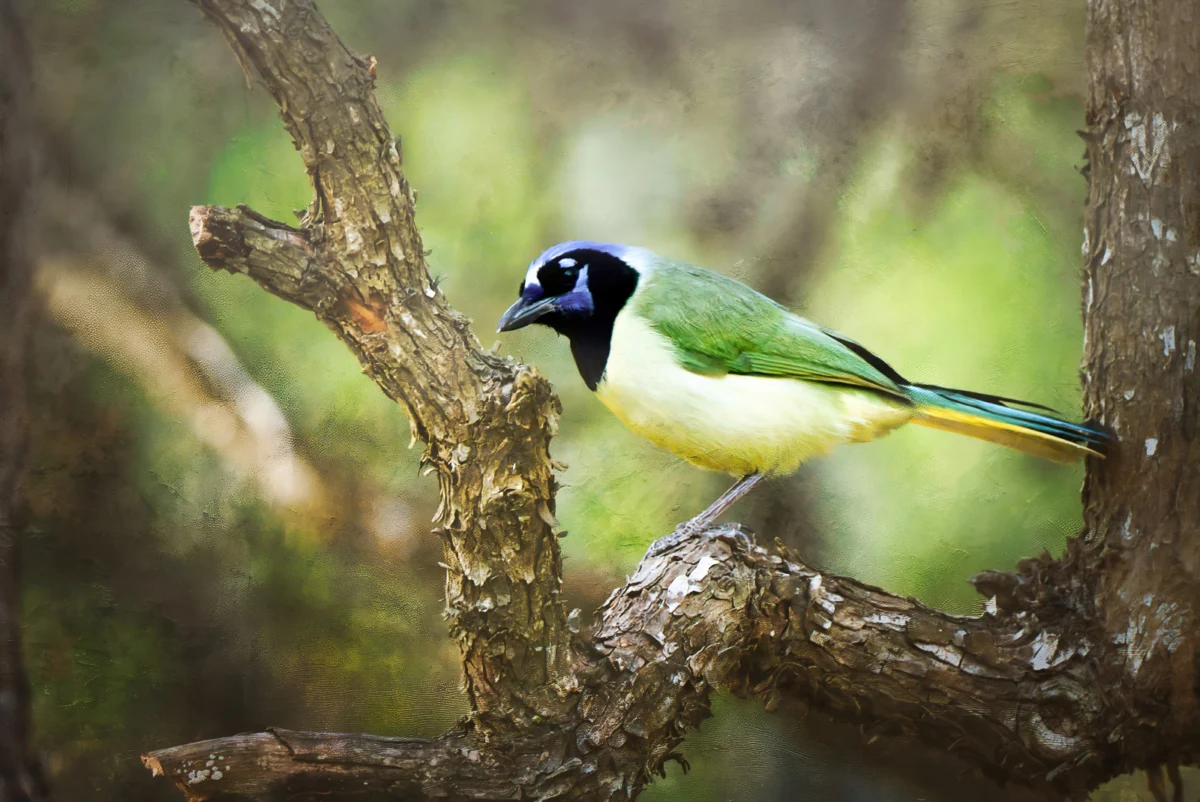
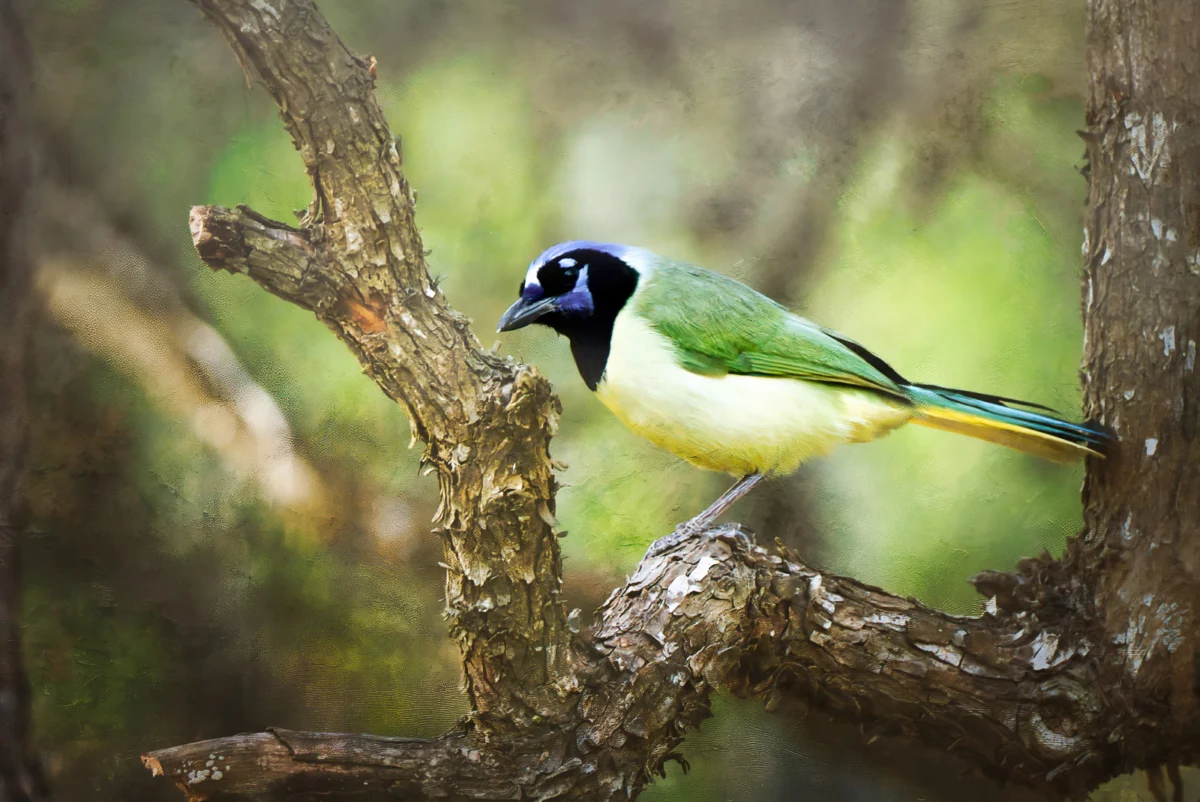
To create images of wildlife that truly stand out, it is paramount to understand how light falls, the qualities it possesses, and how to harness it. Wildlife photographers are often at the mercy of natural light, making the ability to observe, predict, and adapt crucial. Leading wildlife photographers consistently emphasize the "golden hours" – the periods shortly after sunrise and before sunset – for their warm, soft, and directional light that beautifully sculpts animal subjects and separates them from their backgrounds.

Backlighting, when executed skillfully, can transform a routine wildlife shot into a stunning display of rim light, emphasizing the animal’s silhouette and creating a magical glow, particularly effective with fur or feathers. Conversely, frontal light during harsh midday can lead to flat, high-contrast images with unflattering shadows. In such conditions, seeking shade or waiting for better light is often the best strategy. Portable flashes, often used with diffusers or off-camera, can provide fill light to soften harsh shadows, create catchlights in an animal’s eyes, or even act as a primary light source in low-light scenarios, provided they are used responsibly and without disturbing the animals. The quality of light also impacts detail; soft light reveals subtle textures in fur and feathers, while hard light can emphasize ruggedness or scales. Mastering light in wildlife photography involves not just knowing the technical aspects but also understanding animal behavior and anticipating optimal lighting opportunities in dynamic natural environments.
Lighting in Landscape Photography
Understanding lighting in landscape photography goes beyond merely mastering exposure; it is about recognizing light as a compositional element that profoundly shapes the scene’s mood and impact. One of the most powerful skill sets a landscape photographer can have is the ability to identify, plan for, and adapt to ever-changing lighting conditions. The "golden hour" is revered for its soft, warm, and highly directional light that accentuates textures, creates dramatic shadows, and bathes the scene in rich, inviting hues. Equally compelling is the "blue hour," the period just before sunrise or after sunset, offering a cool, ethereal light that lends itself to serene and moody landscapes, often with city lights or moonlit scenes.
However, beautiful landscapes are not exclusive to these prime times. Overcast days, for instance, provide a giant softbox effect, yielding diffuse, even light that is excellent for capturing forest interiors, waterfalls, or intimate scenes where harsh shadows would be distracting. Fog and mist act as natural diffusers, creating atmospheric depth and simplifying compositions by obscuring distant elements. Even harsh midday light, often avoided, can be utilized for high-contrast, dramatic black and white images or to emphasize the starkness of a desert landscape. The direction of light is critical: side lighting reveals geological textures and mountain contours, while backlighting can create stunning lens flares or silhouette dramatic features against a vibrant sky. Planning involves not just checking weather forecasts but also using sun-tracking apps to predict light angles at specific locations and times, ensuring the photographer is positioned to maximize the visual potential of the available light.

Lighting in Underwater Photography
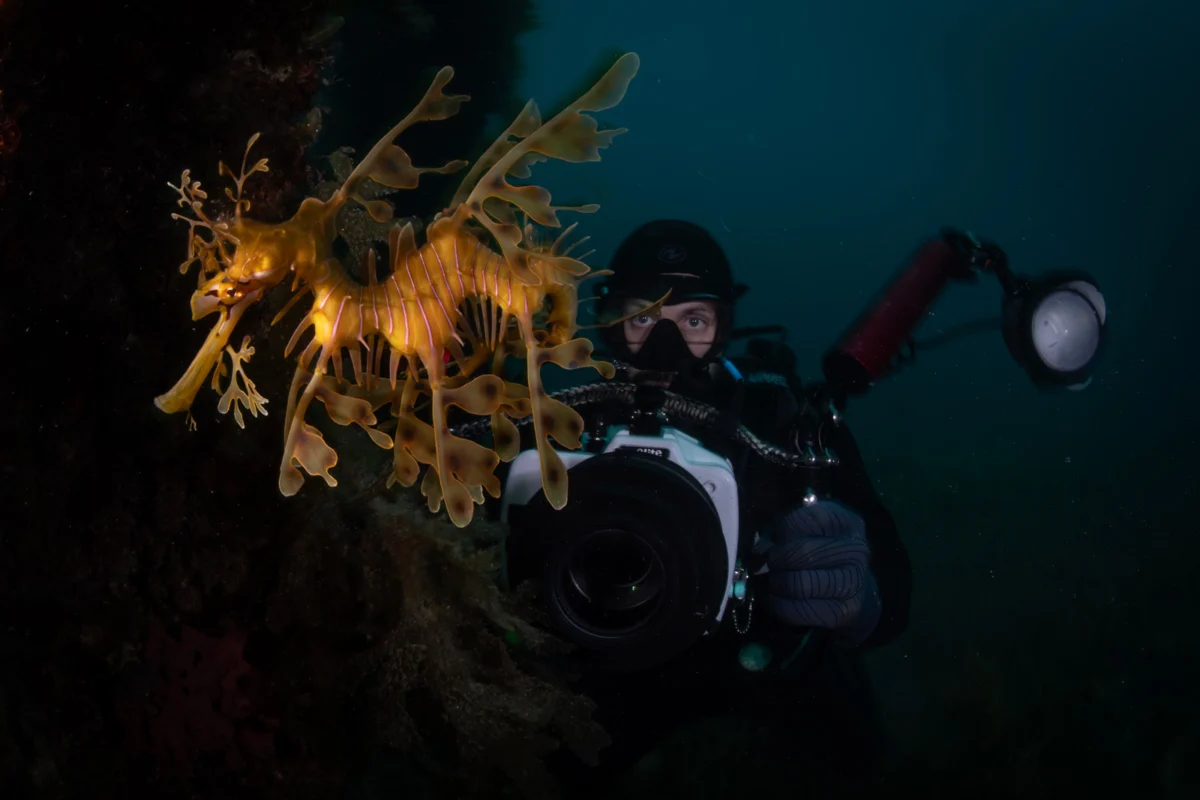
Learning how to find, create, and use light underwater can be one of the most essential and difficult skills to master, but one that will make your photography stand out from the crowd. The underwater environment presents unique challenges due to the rapid absorption and scattering of light by water, particularly the red and orange wavelengths. As a result, ambient light diminishes quickly with depth, and colors appear muted or shift towards blue and green.
Successful underwater photography often relies on artificial light sources, primarily strobes (underwater flashes) or continuous video lights. Strobes are crucial for restoring lost colors, adding contrast, and illuminating subjects, especially in macro photography where ambient light is insufficient. The positioning of strobes is key to avoiding "backscatter" – illuminated particles in the water column that appear as distracting spots in the image. Angling strobes away from the camera lens and slightly inwards helps direct light onto the subject while minimizing backscatter. For wide-angle underwater photography, dual strobes are often used to provide even illumination and sculpt the scene. In shallow dives, where ambient light is plentiful, photographers can utilize natural light to create dynamic sunbursts or silhouettes, often complementing it with a single strobe for fill. Mastering underwater lighting involves a delicate balance of ambient light and artificial illumination, understanding water clarity, and adapting techniques for different subjects, from vast ocean giants to tiny, intricate reef inhabitants.
Lighting for Macro Photography
Whether photographing amphibians, insects up close, or the finer details found in nature, lighting remains a critical element in macro photography. At such close working distances, controlling light becomes paramount for revealing intricate textures, managing depth of field, and isolating the subject from its surroundings. Natural light can be effective, especially soft, overcast conditions which provide diffuse, even illumination that is flattering for small subjects. However, due to the magnification involved, even slight movements can cause significant changes in light and shadow, making artificial light sources often more reliable and controllable.

Ring flashes, which fit around the lens, provide very even, shadowless illumination, ideal for revealing fine details, though they can sometimes produce a flat look. More nuanced lighting can be achieved with off-camera flashes or continuous LED lights, often paired with diffusers to soften the light and prevent harsh highlights. Small softboxes or DIY diffusers can be invaluable for directing light precisely onto the subject while softening its quality. For subjects like insects, controlling shadows is vital; a subtle shadow can add depth and form, while deep, distracting shadows can obscure details. Focus stacking, a technique where multiple images are taken at different focal planes and combined in post-processing, often relies on consistent lighting across all frames to ensure seamless integration. Ultimately, mastering macro lighting is about precision, patience, and the ability to craft miniature worlds with light.
Advanced Lighting Concepts and the Photographer’s Workflow
Beyond the foundational principles and genre-specific applications, advanced lighting concepts further empower photographers. Understanding the inverse square law is critical for artificial lighting; it states that the intensity of light decreases proportionally to the square of the distance from the source. This means moving a light source just a little closer to a subject can dramatically increase its intensity, and vice versa, which is crucial for controlling light fall-off and creating nuanced gradients.
Metering techniques also play a significant role. While evaluative or matrix metering often suffices, spot metering allows for precise exposure readings on specific areas, ensuring critical highlights or shadows are rendered correctly, particularly in high-contrast scenes. Understanding the histogram is equally vital, providing a graphical representation of the tonal distribution in an image, helping photographers assess exposure accuracy and avoid clipping highlights or crushing shadows.

In the digital age, post-processing has become an extension of lighting control. Tools like dodging and burning (selectively lightening or darkening areas), global and local contrast adjustments, and color grading allow photographers to refine and enhance the light captured in-camera. This iterative process of capturing, assessing, and refining light is integral to achieving a photographer’s artistic vision.
Conclusion
Whatever the subject – from sweeping landscapes to microscopic wonders, from elusive wildlife to the mysterious depths of the ocean – lighting is a crucial element to master for creating memorable and standout images. It is not merely a technical consideration but an artistic medium, enabling photographers to transform ordinary scenes into extraordinary visual narratives.
The journey to mastering lighting in photography is continuous, requiring keen observation, technical understanding, and a willingness to experiment. Photographers must become students of light, constantly analyzing how it interacts with their subjects, how it shapes mood, and how it can be manipulated to serve their creative vision. The dedicated practice of applying these principles across diverse environments and subjects will undoubtedly elevate any photographer’s work to the next level. We encourage all aspiring and seasoned nature photographers to embrace this essential element and witness the transformative power it holds. We’d love to see how you use light – don’t forget to share your images with us!