
Embarking on a photographic journey in 2025 presents both exhilarating opportunities and a significant learning curve, often compounded by the sheer volume of information available. While the digital landscape is rich with tutorials and forums, beginners frequently find themselves overwhelmed when confronting fundamental technical hurdles. This article aims to demystify common photographic pitfalls, providing a comprehensive guide to diagnosing and rectifying issues that often deter nascent photographers. By focusing on critical camera settings, understanding equipment nuances, and adopting effective shooting practices, this resource seeks to empower new entrants in the field to harness their gear and develop their skills with confidence.
The Evolving Landscape of Photography in 2025
The year 2025 marks a pivotal era in photography, characterized by the widespread integration of artificial intelligence (AI), advanced computational photography, and increasingly sophisticated camera hardware. Mirrorless systems dominate the market, offering unparalleled autofocus capabilities, in-body image stabilization (IBIS), and high-resolution electronic viewfinders. Smartphones, too, have pushed the boundaries of what portable devices can achieve, blurring the lines between casual and professional image capture. This rapid technological evolution, while beneficial, can also contribute to the beginner’s sense of bewilderment. Understanding core photographic principles, therefore, remains paramount, as these fundamentals transcend specific technological iterations. Industry reports from leading camera manufacturers consistently highlight user experience and ease of learning as key drivers for new product development, underscoring the ongoing challenge of simplifying complex photographic processes for a broad audience.
Conquering Blurry Images: Precision in Motion and Focus
Blurry photographs are among the most frustrating issues for any photographer, stemming from a misalignment between camera settings and the shooting scenario. The primary culprits typically involve inadequate shutter speed, imprecise autofocus, or camera movement.
Shutter Speed: The Foundation of Sharpness
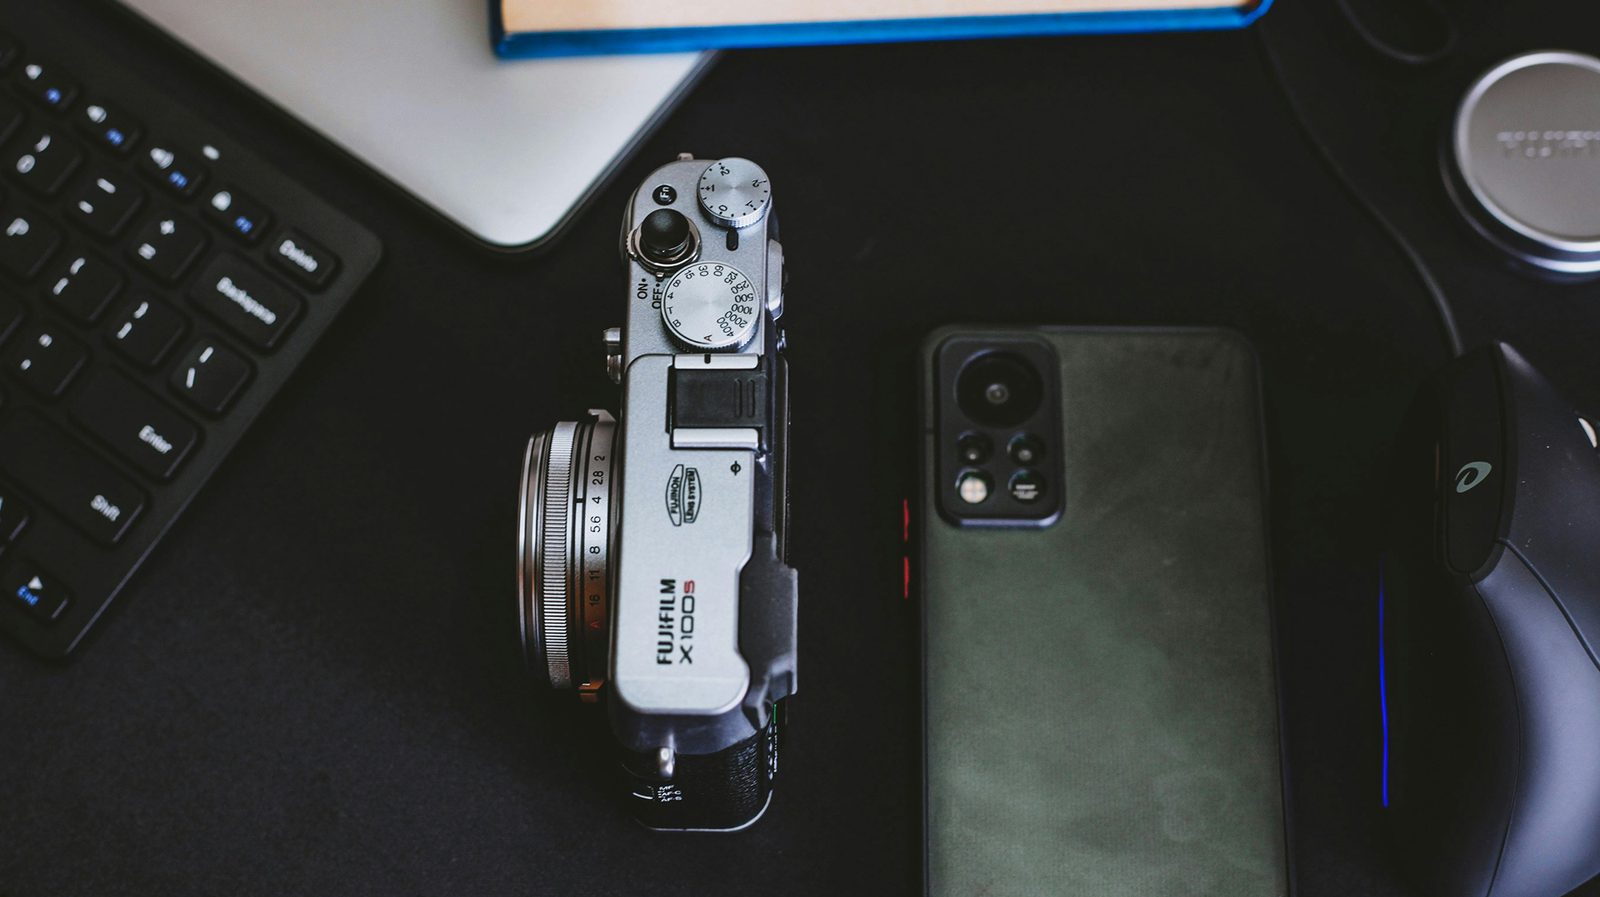
The shutter speed dictates the duration the camera’s sensor is exposed to light, directly influencing how motion is captured. For handheld shooting or subjects in motion, a faster shutter speed is imperative to "freeze" the action and minimize camera shake. A long-standing guideline suggests setting the shutter speed to at least the reciprocal of the lens’s focal length (e.g., 1/100th of a second for a 100mm lens). However, this rule requires adjustment based on sensor size (crop factor), the presence of image stabilization, and the speed of the subject. Modern full-frame cameras, often paired with lenses featuring optical image stabilization (OIS) or cameras with IBIS, can allow for slightly slower handheld shutter speeds. For instance, a 5-axis IBIS system, common in 2025, might grant up to 7-8 stops of stabilization, theoretically allowing a 1/8th second exposure to appear sharp where 1/250th might otherwise be needed.
To compensate for faster shutter speeds, which reduce the light reaching the sensor, photographers often widen the aperture (use a lower f-number) to admit more light, thereby maintaining proper exposure. Alternatively, increasing the ISO sensitivity can also brighten the image, though this carries the risk of introducing digital noise.
Mastering Autofocus: The Brains Behind the Lens
Beyond shutter speed, the camera’s autofocus (AF) system plays a crucial role in achieving sharp images. Contemporary cameras feature highly advanced AF systems, often incorporating AI-driven subject recognition (e.g., eye-AF, animal-AF, vehicle-AF) that can track subjects with remarkable accuracy. However, selecting the appropriate AF mode for a given scenario is critical.
- Single-Shot AF (AF-S/One-Shot AF): Ideal for stationary subjects, where focus is locked once achieved.
- Continuous AF (AF-C/AI Servo AF): Essential for moving subjects, as the camera continuously adjusts focus as the subject changes distance.
- Automatic AF (AF-A/AI Focus AF): Attempts to intelligently switch between AF-S and AF-C, but can sometimes be less reliable than manual selection.
- Area Modes: From single-point to wide-area tracking, these modes determine where the camera attempts to focus. Beginners often benefit from single-point or small-zone AF for precise control, gradually expanding to wider areas as they gain confidence in the camera’s tracking capabilities.
A common beginner error is allowing the camera to focus on the background instead of the intended subject. Reviewing the in-camera focus points after a shot, if available, can help diagnose this. Implementing back-button focus, which separates the autofocus activation from the shutter release, is a technique widely adopted by professionals. This allows photographers to acquire and lock focus independently, then recompose and fire the shutter without fear of refocusing, significantly reducing inadvertent camera shake caused by pressing the shutter button halfway.
Stabilization and Technique: Minimizing Camera Shake
Even with optimal settings, poor shooting technique can lead to blur. Proper camera grip, bracing oneself against a stable surface, or utilizing a tripod are fundamental practices. Tripods are indispensable for long exposures, low-light photography, or when using very long telephoto lenses. The use of a remote shutter release or the camera’s self-timer can further eliminate shake introduced by pressing the shutter button directly. The rise of sophisticated IBIS and OIS in 2025 cameras has made handheld shooting more forgiving, but these technologies complement, rather than replace, good fundamental technique.

The Critical Role of Lens Health
In persistent cases of blur, despite correct settings and technique, the issue might lie with the lens itself. Lenses can fall out of calibration due to manufacturing tolerances, impacts, or general wear and tear. This can result in "front-focus" or "back-focus," where the point of sharpest focus is consistently slightly in front of or behind the intended subject. Many camera manufacturers offer lens calibration services, though these can be costly and time-consuming. For those who prefer self-calibration, specialized tools such as focusing charts and lens calibration systems are available, often accompanied by detailed instructional guides. Industry data suggests that a significant percentage of consumer lenses, even new ones, can exhibit minor focus inaccuracies, making calibration a valuable, albeit often overlooked, maintenance step for aspiring professionals.
Navigating Exposure: The Art of Light Management
Consistently over- or underexposed images are another frequent challenge for new photographers. Achieving correct exposure involves a delicate balance of the "exposure triangle": aperture, shutter speed, and ISO.
Understanding the Exposure Triangle: A Core Principle
- Aperture: Controls the amount of light entering the lens and influences depth of field (how much of the scene is in focus). A wider aperture (smaller f-number) lets in more light.
- Shutter Speed: Controls the duration of light exposure and affects motion blur. A faster shutter speed lets in less light.
- ISO: Controls the sensor’s sensitivity to light. A higher ISO amplifies the signal, brightening the image but increasing potential noise.
Leveraging In-Camera Metering and Histograms
Modern cameras feature sophisticated light meters, typically displayed as a vertical or horizontal bar in the viewfinder or on the LCD screen, with a ‘0’ indicating what the camera perceives as a correct exposure. While aiming for ‘0’ is a good starting point, photographers must understand that the meter is merely measuring reflected light and can be fooled by unusually bright or dark scenes (e.g., snowscapes often appear underexposed, dark subjects overexposed).

Different metering modes offer varying strategies:
- Evaluative/Matrix Metering: Analyzes the entire scene, attempting to balance highlights and shadows, suitable for most general photography.
- Center-Weighted Metering: Prioritizes the central area of the frame, useful when the subject is centrally located.
- Spot Metering: Measures a very small area, ideal for precise exposure control on a specific part of the subject, especially in high-contrast situations.
Beyond the light meter, the histogram is an invaluable tool for evaluating exposure. This graph displays the tonal distribution of an image, from pure black (left) to pure white (right). A well-exposed image typically has a histogram that fills the mid-tones without being "clipped" at either end, indicating lost shadow or highlight detail. Mastering histogram interpretation allows photographers to make informed exposure adjustments, even in challenging lighting conditions where the light meter might be misled. The evolution of live-view displays and real-time histograms in mirrorless cameras by 2025 has significantly aided beginners in visualizing exposure before pressing the shutter.
The Power of Post-Processing: RAW vs. JPEG
While striving for perfect in-camera exposure is ideal, digital photography offers the flexibility of post-processing. Shooting in RAW format (rather than JPEG) provides significantly more latitude for correcting exposure errors. RAW files contain uncompressed, unprocessed sensor data, allowing for greater recovery of highlight and shadow detail during editing. For instance, an underexposed RAW image might be safely brightened by 1-2 stops in post-processing without significant quality loss, whereas an overexposed image, particularly one with clipped highlights, is much harder to salvage. Industry data consistently shows that professional photographers overwhelmingly prefer RAW for its flexibility, a practice beginners are encouraged to adopt early in their learning.
Mitigating Noise: Clarity in Challenging Light
Noisy images, characterized by speckles or grain, particularly in shadow areas, are almost exclusively a consequence of high ISO settings. While the ISO setting in digital cameras is analogous to film speed, it fundamentally operates by amplifying the electrical signal from the image sensor, rather than altering its physical properties. This amplification, however, also magnifies random electrical interference, which manifests as noise.
Deconstructing ISO: Sensitivity vs. Signal Amplification

Every camera sensor has a "native ISO" range where it performs optimally with minimal noise. Beyond this, increasing the ISO involves digital amplification. There are two primary types of noise:
- Luminance Noise: Appears as random variations in brightness, resembling film grain.
- Chrominance Noise: Appears as random splotches of color, often magenta or green.
The tolerance for noise is highly subjective and depends on the final use of the image. A small web image can tolerate more noise than a large print. Sensor size is a key determinant: larger sensors (e.g., full-frame) generally have larger photosites, which collect more light and produce a stronger signal, resulting in better high-ISO performance compared to smaller sensors (e.g., APS-C, Micro Four Thirds).
Technological Leaps in Noise Reduction
By 2025, camera manufacturers have made significant strides in in-camera noise reduction algorithms, often leveraging AI to intelligently differentiate between image detail and random noise. Post-processing software has also evolved, with AI-powered noise reduction tools capable of remarkably cleaning up noisy images while preserving detail. Despite these advancements, the fundamental principle remains: lower ISO settings yield cleaner images. Photographers typically establish their "usable ISO limit" through experimentation, finding the highest ISO setting at which they are comfortable with the resulting image quality for their specific camera and application. While some modern cameras boast ISO settings in the hundreds of thousands, most practical shooting rarely exceeds ISO 6400 or 12800 without significant trade-offs in image fidelity.
Strategic Lens Selection for Low Light
When frequently shooting in dark environments, investing in lenses with a wider maximum aperture (e.g., f/2.8, f/1.8, f/1.4) is a highly effective strategy to mitigate the need for excessively high ISO settings. These "fast" lenses allow substantially more light to reach the sensor, enabling the use of lower ISOs or faster shutter speeds, thereby producing cleaner, sharper images. While prime lenses often offer the widest apertures, zoom lenses with a constant wide aperture (e.g., f/2.8 throughout the zoom range) are also popular choices for their versatility.
Broader Implications and Continuous Learning

The journey into photography is continuous, requiring a blend of technical mastery, artistic vision, and adaptability to evolving technologies. Overcoming these common beginner mistakes is not merely about adjusting settings; it’s about developing a deeper understanding of how light, motion, and focus interact within the photographic process. The accessibility of online communities, educational platforms, and rental services (like Lensrentals, which offers tools for calibration and a vast inventory of gear to experiment with) provides unprecedented support for new photographers in 2025.
As computational photography and AI continue to integrate further into cameras, some aspects of these fundamental challenges may become increasingly automated. However, a solid grasp of the underlying principles will always empower photographers to take creative control, troubleshoot effectively, and push the boundaries of their craft. The future of photography promises even more intuitive tools, but the foundational knowledge discussed here will remain the bedrock upon which truly impactful images are built.