Lighting in photography is one of the most vital elements to master and can make the difference between a good photo and a spectacular one. Its profound influence extends across every photographic genre, shaping mood, defining form, and revealing texture in ways that are often imperceptible to the untrained eye but unmistakable in a compelling image. From the nuanced interplay of shadows in a portrait to the dramatic sweep of light across a vast landscape, the photographer’s ability to understand, anticipate, and manipulate light is paramount to visual storytelling. This comprehensive guide delves into the foundational principles and advanced applications of lighting, demonstrating how its mastery can elevate photography to new artistic and technical heights.
The essence of photography, literally "drawing with light," underscores its fundamental dependence on illumination. Light dictates exposure, color rendition, contrast, and the overall atmosphere of an image. Without light, there is no photograph; with poorly managed light, there is merely a record. With skillfully employed light, an image transcends documentation to become art. Professional photographers universally acknowledge that while camera gear offers capabilities, light provides the creative canvas. The quality of light—its direction, intensity, color temperature, and diffusion—is arguably more critical than the camera body or lens used, a fact consistently emphasized in workshops and educational curricula globally.
The Physics and Psychology of Light in Photography
Understanding light begins with its fundamental properties. Light travels in waves and interacts with subjects in predictable ways. Direction determines where shadows fall, influencing perceived depth and dimension. Frontal lighting flattens subjects, side lighting enhances texture and form, backlighting creates dramatic silhouettes or ethereal glows, and overhead light (such as harsh midday sun) often produces unflattering, deep shadows. Intensity refers to the brightness of the light, directly impacting exposure and the dynamic range of a scene. Overly bright light can blow out highlights, while insufficient light can lead to noisy shadows.
Color temperature, measured in Kelvins, describes the warmth or coolness of light. Early morning and late afternoon light (the "golden hour") typically ranges from 2000K to 4000K, casting warm, inviting hues. Midday sunlight can reach 5500K-6500K, appearing neutral or slightly cool. Overcast conditions and shade often produce cooler light (above 6500K), which can lend a somber or serene mood. Understanding and correcting for color temperature, either in-camera via white balance settings or in post-processing, is crucial for accurate and aesthetically pleasing color rendition.

Quality refers to the hardness or softness of light. Hard light, often from a small, direct source like the midday sun or an undiffused flash, creates sharp, well-defined shadows and high contrast. Soft light, originating from a large or diffused source (e.g., an overcast sky, a large softbox, or reflected light), produces gradual transitions from light to shadow, resulting in lower contrast and more flattering illumination, especially for subjects like wildlife or portraits. Mastering these physical attributes allows photographers to predict how light will behave and to strategically position themselves or their subjects to harness its power.
Beyond physics, light carries immense psychological weight. Warm light often evokes feelings of comfort, nostalgia, or romance. Cool light can suggest calm, mystery, or melancholy. Dramatic shadows can create tension or highlight specific elements, while soft, even light can convey tranquility or innocence. Photographers, much like painters, learn to "read" light not just as a technical variable but as an expressive tool, capable of shaping the viewer’s emotional response and deepening the narrative of an image.
Historical Context and Evolution of Lighting Techniques
The history of photography is inextricably linked to the evolving understanding and manipulation of light. Early photographers, limited by slow emulsions and primitive optics, were almost entirely reliant on abundant natural light. Studios in the mid-19th century often featured large glass roofs and north-facing windows to provide consistent, soft daylight. The invention of flash powder in the late 1800s marked a significant technological leap, allowing photographers to capture images in low-light conditions and freeze motion, albeit with sometimes harsh and unpredictable results.
The 20th century saw rapid advancements in artificial lighting, from incandescent bulbs to magnesium flashbulbs and eventually electronic flash (strobe lights). These innovations freed photographers from the constraints of natural light, enabling them to shoot indoors, at night, and in controlled studio environments. The development of light meters, diffusers, reflectors, and various light modifiers further refined the ability to shape and control artificial light, paving the way for sophisticated studio portraiture, product photography, and fashion shoots. Today, LED panels offer continuous, controllable light sources, while advanced strobes with high-speed sync and wireless capabilities provide unprecedented flexibility. This chronological progression highlights a continuous quest to not just record light, but to sculpt it, to transform it from a mere illuminator into an integral part of the artistic vision.
Lighting in Wildlife Photography: Capturing Dynamic Moments
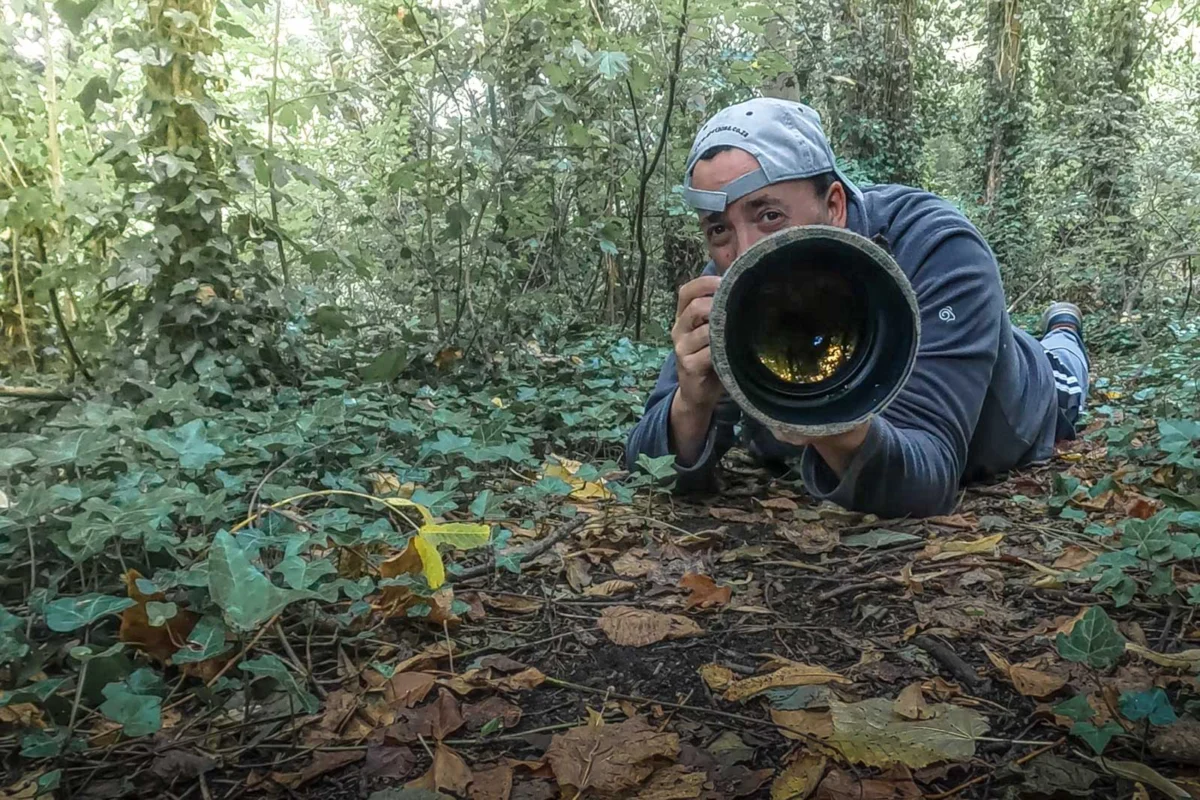
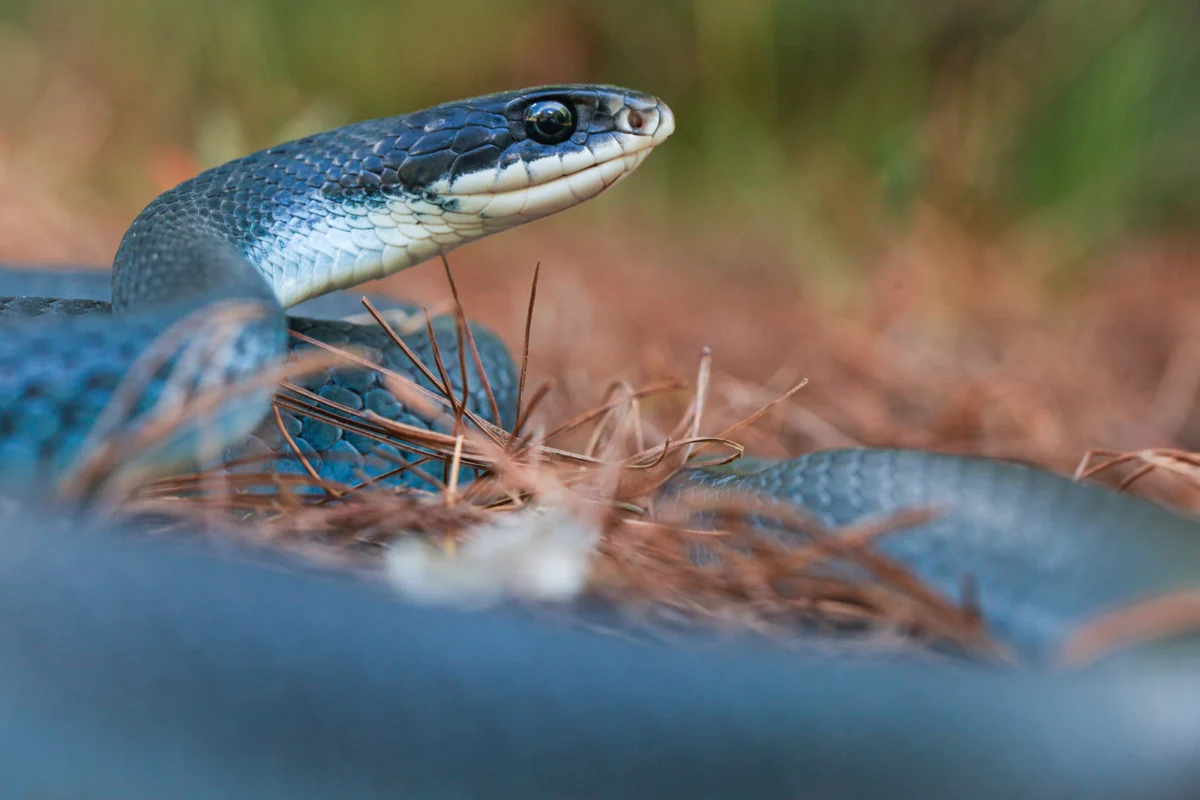
In wildlife photography, where subjects are often unpredictable and environments uncontrollable, understanding how light falls, its qualities, and how to harness it is crucial for creating truly standout images. The challenge lies in adapting to ever-changing conditions while maintaining a focus on the subject’s behavior and natural habitat.

Optimal Natural Light: Wildlife photographers often prioritize the "golden hours"—the periods shortly after sunrise and before sunset. During these times, the sun is low in the sky, producing soft, warm, directional light that adds dimension, highlights texture, and creates pleasing catchlights in the animal’s eyes. Backlighting during the golden hour can create stunning rim-lighting effects, separating the subject from the background with a luminous halo. Similarly, side lighting can emphasize the animal’s form and musculature, adding a sculptural quality.
Adapting to Challenges: Midday sun, while providing ample light for fast shutter speeds, can be harsh and overhead, creating deep shadows and high contrast that can obscure details. Experienced wildlife photographers learn to work with these conditions by seeking shade, waiting for cloud cover, or positioning themselves to use reflections or filtered light. For instance, animals often seek shade during the hottest parts of the day, offering opportunities for softer, more even light.
Techniques for Impact:
- Catchlights: Ensuring light reflects in the animal’s eyes brings the subject to life, creating a sense of connection with the viewer.
- Separation from Background: Using backlighting or side lighting can help an animal stand out from a busy background, especially when combined with a shallow depth of field.
- Mood and Emotion: Soft light can evoke tenderness, while dramatic, high-contrast light might emphasize power or intensity.
- Fill Flash: In some situations, a subtle fill flash can be used to lighten harsh shadows on a subject without overpowering the natural ambient light, revealing detail that would otherwise be lost.
These guides will help you to gain a deeper understanding of light and how it relates to wildlife photography, and we also share some techniques to take your imagery to the next level.
Lighting in Landscape Photography: Sculpting the Earth’s Canvas
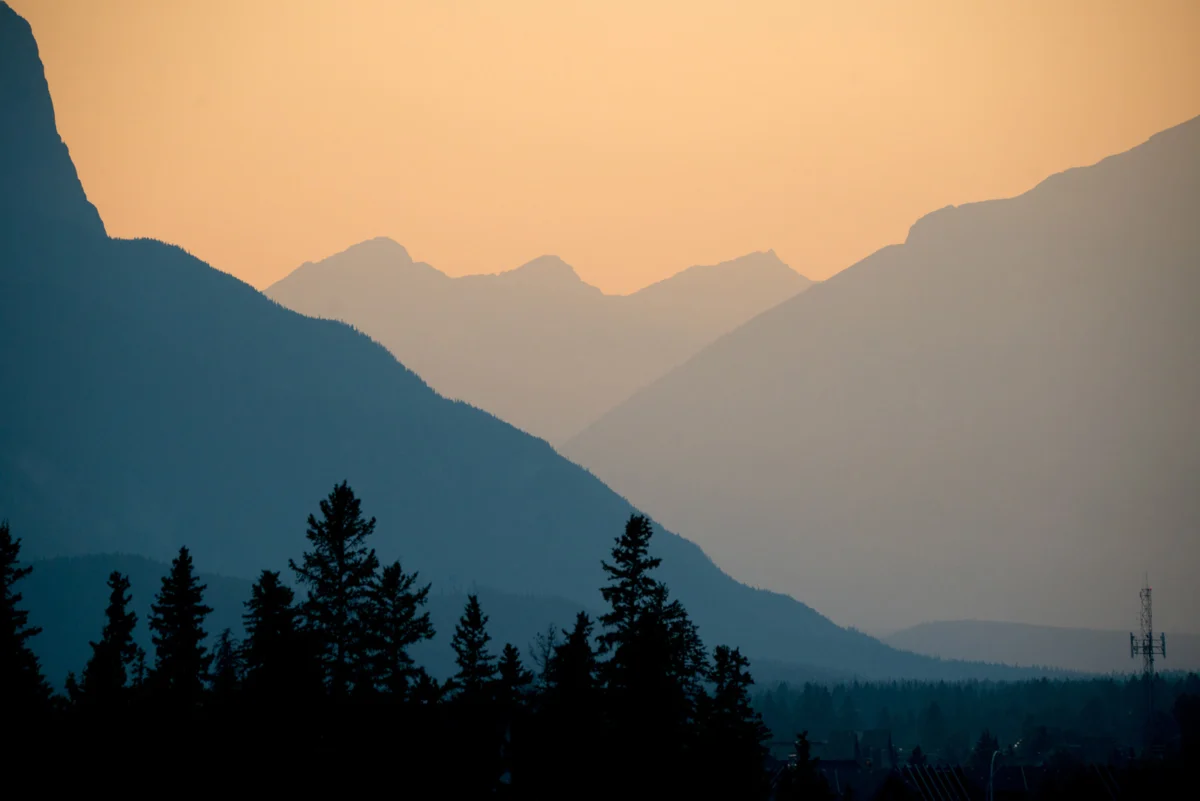
Understanding lighting in landscape photography goes beyond merely understanding exposure. One of the most powerful skill sets that a landscape photographer can have is the ability to identify, plan, and adapt to ever-changing lighting conditions. Landscapes are profoundly shaped by light, with the same scene capable of looking entirely different under varying illumination.

Strategic Planning for Light: Unlike wildlife, landscapes are static, allowing for meticulous planning. Professional landscape photographers often scout locations at different times of day and in various seasons to observe how light interacts with the terrain. Tools like "The Photographer’s Ephemeris" or similar apps help predict sunrise, sunset, and moon positions, allowing for precise planning to capture specific lighting effects.
The Magic of Golden and Blue Hours: The golden hour is as revered in landscape photography as it is in wildlife, bathing scenes in warm, soft light that enhances textures and colors. The "blue hour," the period just before sunrise or after sunset when the sun is below the horizon, offers a cooler, ambient light that can create serene and atmospheric images, particularly appealing for urban landscapes or twilight scenes.
Working with Atmospheric Conditions: Mist, fog, and cloud cover, often seen as deterrents, can transform a landscape with diffused, ethereal light, softening harsh lines and creating a sense of depth and mystery. Light filtering through breaks in clouds (known as crepuscular rays) can create dramatic visual effects, drawing the eye to specific areas of the scene.
Managing Midday Light: While often avoided, midday light can be utilized creatively. For instance, in black and white photography, harsh contrast can be exploited to emphasize strong lines and shapes. High-altitude landscapes or scenes with reflective surfaces like water can also yield interesting results in bright light, though careful exposure management is critical.
The following tutorials will help you understand how to find and use light in landscape photography, in both optimal and not-so-optimal conditions.

Lighting in Underwater Photography: Navigating a Subaquatic World
Learning how to find, create, and use light in underwater environments can be one of the most essential and difficult skills to learn, but one that will make your photography stand out from the crowd. Water acts as a filter, absorbing light and color rapidly with increasing depth, making underwater lighting a unique challenge.
Light Attenuation: As light penetrates water, it is absorbed and scattered. Red light is the first to disappear, followed by orange, yellow, and green, leaving a predominantly blue-green cast at greater depths. This phenomenon necessitates specific strategies for color correction and artificial lighting.
Utilizing Ambient Light: In shallow waters, especially with bright sunlight, ambient light can still be plentiful. Photographers can capture vibrant scenes by shooting during midday when the sun’s rays penetrate most directly, and by positioning themselves to utilize natural light effectively. Sun rays piercing the surface can create breathtaking visual elements.
The Role of Artificial Lighting: For deeper dives or to restore lost colors, artificial light sources such as strobes (underwater flashes) or continuous video lights are indispensable.
- Strobes: These are crucial for freezing motion, adding definition, and bringing back the full spectrum of colors to subjects. Proper positioning of strobes is key to avoid backscatter (light reflecting off particles in the water) and to create desired lighting effects, such as side lighting for texture or frontal lighting for even illumination.
- Video Lights: Continuous lights are useful for macro photography, focusing in low light, and when shooting video. They allow the photographer to see the exact effect of the light before taking the shot.
Challenges and Techniques:

- White Balance: Custom white balance settings or color correction filters are often necessary to compensate for the dominant blue cast underwater.
- Backscatter Management: Positioning strobes away from the camera lens and angled towards the subject helps minimize backscatter.
- Subject-to-Strobe Distance: Keeping the distance between the strobe and the subject short is vital, as light loses intensity quickly underwater.
Whether you are photographing ocean giants on shallow dives, where ambient light is plentiful, or going deeper under the waves, these tips will help you master lighting as part of your underwater photography workflow. The ability to control and introduce light effectively beneath the surface transforms what would otherwise be monochrome, indistinct images into vivid, captivating narratives of marine life and ecosystems.
Lighting for Macro Photography: Illuminating Intricate Worlds
Whether you are photographing amphibians or insects up close, or the finer details found in nature, lighting remains a critical element in macro photography. At extreme magnifications, even subtle changes in light can dramatically alter the appearance of a tiny subject, revealing textures and forms invisible to the naked eye.
Challenges of Magnification: As magnification increases, the depth of field becomes extremely shallow, and the amount of light reaching the sensor decreases significantly. This often necessitates brighter light sources and careful management of shadows.
The Importance of Diffusion: For macro subjects, especially insects or delicate plant structures, harsh light can create unflattering hotspots and deep, distracting shadows. Diffused light is paramount, softening contrasts and revealing intricate details without overpowering them.
- Natural Diffusion: Overcast days provide excellent soft, natural light for macro photography. Positioning subjects in open shade or using natural reflectors can also help.
- Artificial Diffusion: Diffusers placed between the light source and the subject are common. DIY diffusers made from translucent materials are often employed to soften direct flash.
Dedicated Macro Lighting:

- Ring Flashes: These attach to the front of the lens, providing even, shadowless illumination ideal for flat or small, round subjects. While effective, they can sometimes make subjects appear flat.
- Twin Flashes/Off-Camera Strobes: Two small flashes positioned on either side of the lens, often on flexible arms, offer more control over direction and modeling. This allows photographers to create more three-dimensional lighting and manage shadows strategically.
- LED Panels: Small, continuous LED lights can be used to illuminate subjects, providing a live preview of the lighting effect, which is particularly useful for precise adjustments.
Techniques for Detail and Drama:
- Backlighting: A subtle backlight can create a beautiful rim light around translucent subjects like flower petals or insect wings, making them glow.
- Focus Stacking: In conjunction with controlled lighting, focus stacking (combining multiple images focused at different depths) is often used in macro photography to overcome the shallow depth of field challenge and achieve sharp focus throughout the subject.
- Creative Shadow Play: While often diffused, sometimes intentional, controlled shadows can be used to add drama or emphasize specific contours of a tiny subject.
These guides will help you to master lighting when photographing the macro world, turning microscopic details into compelling visual stories.
In Conclusion: The Universal Language of Light
Whatever your subject—be it a fleeting moment in the wild, an expansive vista, the vibrant mysteries of the deep, or the intricate beauty of the miniature world—lighting is a crucial element to master for creating memorable and standout images. It is not merely a technical parameter but an artistic medium, a tool for expression, and a language that transcends cultural barriers, speaking directly to the viewer’s emotions and intellect.
The journey to mastering lighting is ongoing, requiring observation, experimentation, and a deep appreciation for the subtle nuances of illumination. It involves understanding both the scientific principles of how light behaves and the artistic principles of how it can be used to evoke mood, shape form, and tell a story. Leading photography educators and practitioners consistently highlight light as the single most impactful factor in an image’s success, asserting that a photographer who masters light truly masters the craft. The implication is clear: those who invest time in understanding and controlling light unlock an unparalleled capacity for creative expression and elevate their work from competent to exceptional, distinguishing their visual voice in an increasingly crowded photographic landscape.
Use the guides above to learn how to harness the power of lighting in photography and take your work to the next level. We encourage continuous learning and practical application, as only through repeated engagement with light in diverse scenarios can a photographer truly develop an intuitive grasp of its transformative power. We’d love to see how you use light – don’t forget to share your images with us!