Following our recent discussion on refining photographic techniques for burgeoning enthusiasts and career photographers, the spotlight now shifts to the dynamic world of videography. As an increasing number of individuals and businesses pivot towards video content, many encounter a distinct set of technical hurdles unique to motion picture capture. Understanding and effectively resolving these common issues is paramount for producing high-quality, engaging visual narratives that resonate with audiences. This article delves into prevalent videography pitfalls, offering comprehensive solutions and strategic insights to elevate production standards.
The Ubiquitous Challenge of Shaky Footage: A Deep Dive into Stabilization
One of the most immediate and pervasive problems new videographers face is the presence of shaky camera movements. While the human hand possesses remarkable dexterity, maintaining absolute stillness, especially during dynamic shots or extended takes, is virtually impossible. This inherent physiological tremor translates directly into distracting, often nauseating, footage for the viewer, severely compromising the professional appearance and watchability of the content. Research and anecdotal evidence from audience engagement studies consistently highlight stable footage as a critical factor in viewer retention and perceived production quality. A video suffering from excessive camera shake not only detracts from the narrative but can also lead to viewer fatigue and a swift abandonment of the content.
Historical Context and Technological Evolution: From Mechanical Wonders to Digital Precision
The pursuit of stable camera movement is not a modern phenomenon but rather a cornerstone of cinematic excellence dating back decades. Early filmmakers employed cumbersome dollies, tracks, and cranes to achieve smooth motion, but the real revolution arrived with the invention of the Steadicam by Garrett Brown in the 1970s. This groundbreaking mechanical stabilizer decoupled the camera from the operator’s body, allowing for fluid, dynamic shots previously unimaginable. Its impact on filmmaking was immediate and profound, setting a new standard for mobile camera work.
In the digital age, stabilization technology has diversified significantly, becoming more accessible and sophisticated. Modern cameras often incorporate Optical Image Stabilization (OIS), where lens elements shift to counteract movement, or Electronic Image Stabilization (EIS), which digitally adjusts the image sensor or crops the frame to compensate for shake. While these built-in solutions offer a baseline of improvement, they often fall short in scenarios requiring extensive movement or for heavier camera setups, leading to the necessity of external stabilization systems.
Understanding Stabilization Mechanisms: OIS, EIS, and Mechanical Gimbals
To effectively address shaky footage, it is crucial to understand the mechanisms at play. OIS and EIS, while convenient, have limitations. OIS is effective for small, high-frequency vibrations and typically works best with telephoto lenses. EIS, relying on software, can introduce a "jello" effect or significant cropping, especially in fast-moving situations.
The most robust solution for smooth, professional-grade video is a mechanical gimbal system. These devices utilize a series of motors and sensors to counteract camera movement across multiple axes – typically three (pan, tilt, and roll). By continuously adjusting the camera’s position relative to the operator’s movements, gimbals maintain a remarkably stable horizon and smooth transitions, even during complex tracking shots. The advent of affordable, compact electronic gimbals has democratized professional-level stabilization, making it attainable for a broader spectrum of creators.
Equipment Solutions and Strategic Investments: Tailoring Tools to Specific Needs
The market offers a wide spectrum of video stabilization systems, catering to various camera types, budgets, and operational demands. For instance, smartphone videography, which has surged in popularity due to its convenience and accessibility, benefits immensely from compact gimbals like the DJI Osmo Mobile series. These devices transform often jittery handheld phone footage into remarkably smooth, cinematic sequences, enabling nuanced pans and tilts without significant financial outlay. Their intuitive design and integration with smartphone apps make them ideal for social media content creators, vloggers, and casual users seeking to elevate their mobile video quality.
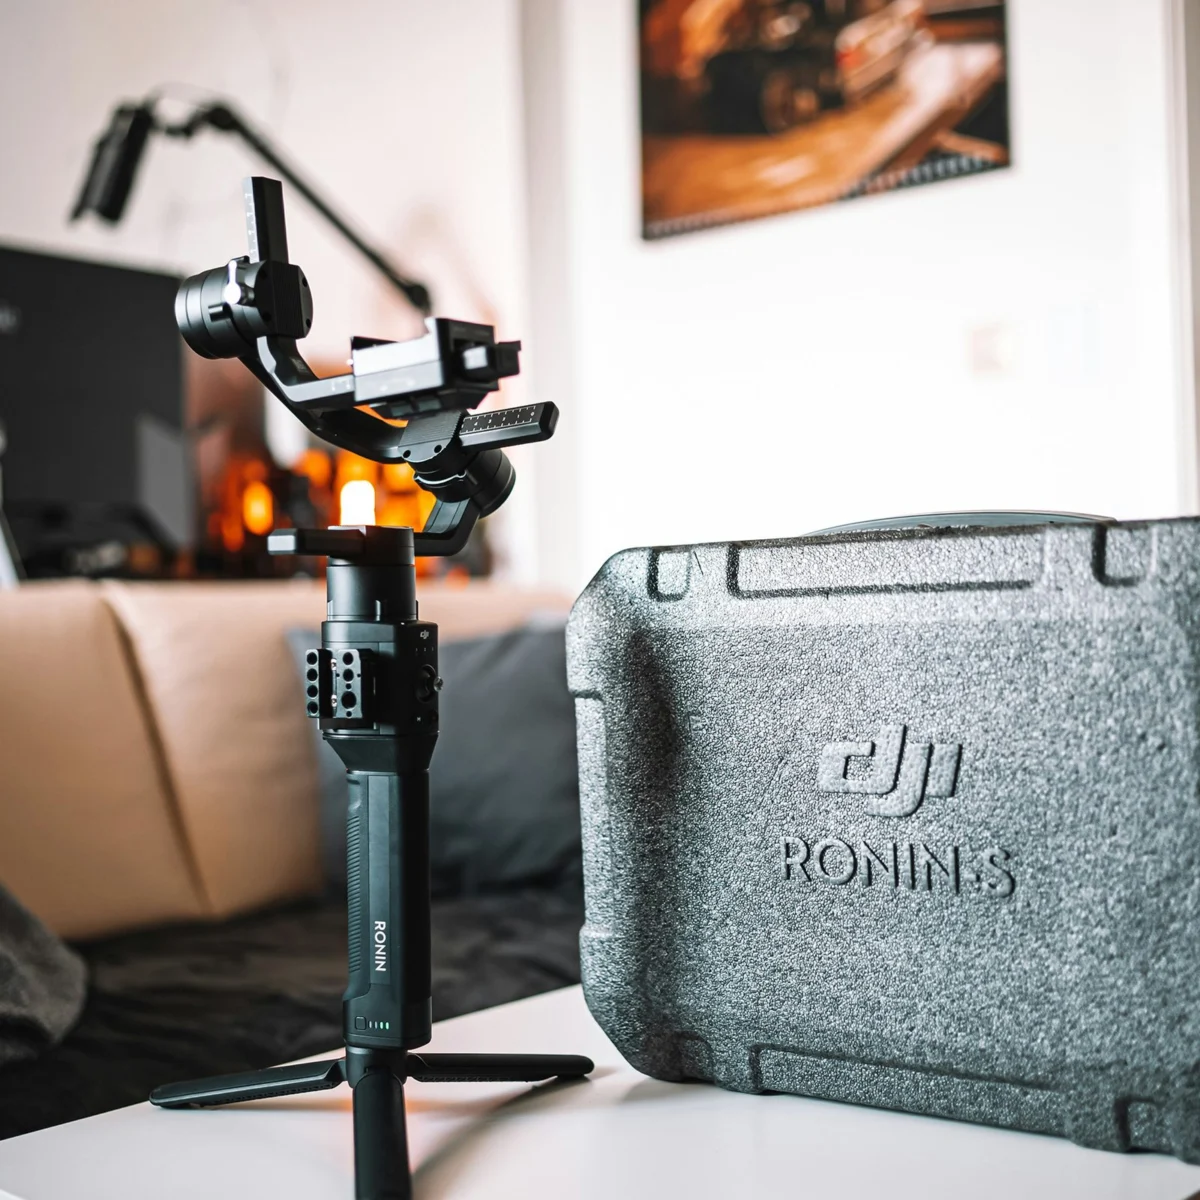
Stepping up to mirrorless camera systems, which have become the industry standard for many independent filmmakers and content creators due to their blend of portability and image quality, dedicated gimbals become essential. The DJI Ronin-SC, for example, represents an excellent entry-point for smaller mirrorless cameras, offering robust 3-axis stabilization capable of handling payloads up to 4.85 lbs. This allows for dynamic camera movements – smooth glides, intricate orbits, and dramatic reveals – that significantly enhance storytelling without requiring a large production crew. For heavier camera setups, typically those exceeding 4.5 pounds, such as professional DSLRs or larger mirrorless bodies with substantial lenses, the DJI Ronin-S is often recommended. Its more powerful motors and larger build accommodate increased weight, ensuring stable operation even with professional-grade cinema lenses or battery grips.
Beyond Gimbals: Tripods, Monopods, and Post-Production Alternatives
While gimbals excel in dynamic movement, fundamental stabilization tools remain indispensable. A sturdy tripod with a fluid head is crucial for static shots, interviews, or controlled pans and tilts. Fluid heads provide smooth, consistent resistance, preventing jerky movements often associated with cheaper ball heads. For situations demanding quick setup and mobility while still offering more stability than handheld, a monopod can be an effective compromise. It provides a single point of ground contact, reducing vertical shake and offering a pivot point for smoother horizontal movements.
In instances where physical stabilization was not possible or proved insufficient, post-production software offers a remedial option. Tools like Adobe Premiere Pro’s Warp Stabilizer can analyze footage and digitally smooth out imperfections. However, this method comes with caveats: it often crops the image, can introduce undesirable artifacts, and is generally less effective than proper in-camera stabilization. It should be considered a last resort rather than a primary solution.
Ultimately, investing in appropriate stabilization tools is a foundational step towards achieving professional videography. It demonstrates a commitment to quality that translates directly into a more enjoyable and impactful viewing experience for the audience, reinforcing the professionalism and credibility of the creator.
The Unseen Imperative: Mastering Audio for Impactful Videography
While visual fidelity often captures immediate attention, the impact of poor audio on a video’s overall quality and message is profound, yet frequently underestimated by novice videographers. It is a common adage in the industry that viewers will tolerate imperfect visuals if the audio is clear, but even stunning visuals cannot compensate for unintelligible or distracting sound. A recent survey indicated that over 70% of viewers would stop watching a video due to bad audio quality, highlighting its critical role in audience engagement and content consumption. The insidious nature of audio problems often lies in their delayed discovery, typically during the post-production phase, when remediation can be costly, if not impossible.
The Neglected Element: Why Sound Often Takes a Backseat
Many aspiring videographers, perhaps stemming from a background in still photography, prioritize the visual aspects of their craft – framing, lighting, composition, and camera settings. Sound, in contrast, is often treated as an afterthought, with reliance placed on the camera’s built-in microphone. This oversight is a critical mistake. Built-in microphones are typically omnidirectional, picking up all ambient noise indiscriminately, and are rarely optimized for vocal clarity or nuanced sound capture. They are designed for convenience, not quality, often resulting in tinny, distant, or echoey audio riddled with unwanted background noise.
The Perils of Inadequate Audio: Impact on Credibility and Viewer Retention
The implications of bad audio extend far beyond simple annoyance. For interview-based content, poor audio can render critical information incomprehensible, undermining the video’s informational value. In narrative or documentary work, distracting background noise or poorly recorded dialogue breaks immersion, pulling the viewer out of the story. From a professional standpoint, subpar audio signals a lack of attention to detail and can erode a creator’s credibility, regardless of the visual artistry. Businesses relying on video for marketing or internal communications risk conveying an amateurish image, potentially impacting brand perception and message effectiveness.
Microphone Arsenal: Understanding Types and Applications
Addressing audio challenges necessitates moving beyond built-in camera microphones and strategically employing external audio recording equipment. The choice of microphone is dictated by the specific recording scenario:
- Lavalier Microphones: These small, discreet microphones are designed to be clipped onto a subject’s clothing, typically near the mouth. Their proximity to the sound source minimizes ambient noise and delivers clear, focused dialogue. They are indispensable for interviews, presentations, and any scenario involving a single or dual speaker. Wireless lavalier systems, such as the Sennheiser G4 or the DJI Mic 2 system, offer freedom of movement and are highly recommended for professional setups, allowing for two-person interviews with separate audio channels. The Sennheiser G4 is a broadcast industry staple known for its robust build and reliable signal, while the DJI Mic 2 offers a more compact, user-friendly solution with excellent sound quality, particularly for content creators.
- Shotgun Microphones: Characterized by their long, cylindrical shape, shotgun microphones are highly directional, meaning they primarily capture sound from the direction they are pointed while rejecting noise from the sides and rear. This makes them ideal for capturing dialogue from a distance or for recording ambient sound in a specific area, such as a film set or a natural environment. The RODE VideoMic Pro Plus is a popular on-camera shotgun microphone that offers excellent sound quality and convenience for run-and-gun shooting or as a supplementary audio source. For more critical applications, longer, more sensitive shotgun mics often mounted on boom poles, are used by dedicated sound recordists.
Dedicated Audio Recorders and the Dual-System Sound Workflow
While some cameras allow direct input from external microphones, the highest quality audio is often achieved by recording sound separately using a dedicated audio recorder. Devices like the Zoom H6 or H4n Pro offer multiple inputs, superior preamps, and the ability to record uncompressed or high-bitrate audio files. This "dual-system sound" workflow involves recording video on the camera and audio on a separate device, then synchronizing them in post-production using timecode or clapper boards. The Zoom H6, with its interchangeable capsule system and multiple XLR inputs, is particularly versatile for capturing diverse audio scenarios, from interviews to complex soundscapes. The H4n Pro offers a more compact yet powerful solution, favored by many for its portability and reliable performance.
This method mitigates potential electrical interference from the camera, offers greater control over audio levels, and provides backup recordings, crucial for professional reliability. Furthermore, dedicated recorders often boast features like phantom power for condenser microphones, limiters to prevent clipping, and advanced monitoring capabilities.
Crucial Monitoring: The Role of Headphones in Real-time Assessment
Perhaps the most critical, yet often overlooked, component of a robust audio workflow is real-time monitoring with quality headphones. It is impossible to accurately assess audio quality by simply relying on the camera’s small display meters or built-in speaker. A good pair of closed-back, over-ear headphones allows the videographer or sound mixer to hear exactly what the microphone is capturing, identifying potential issues such as wind noise, static, clipping (audio distortion from levels being too high), or unwanted background chatter before they ruin a take. Monitoring allows for immediate adjustments to microphone placement, gain levels, or environmental factors, preventing costly reshoots and ensuring pristine audio capture. This proactive approach is a hallmark of professional video production.
Unlocking Creative Potential: Demystifying Log Footage and Color Grading
Another frequently encountered source of confusion for emerging videographers is footage that appears "greyed out" or conspicuously lacking in contrast and saturation directly out of the camera. This phenomenon, far from being a flaw, is typically a deliberate and sophisticated feature known as logarithmic gamma (log) recording. It represents a significant advancement in digital cinematography, designed to maximize the dynamic range of a camera’s sensor, providing unparalleled flexibility in post-production. Understanding log profiles is key to unlocking a camera’s full creative potential.
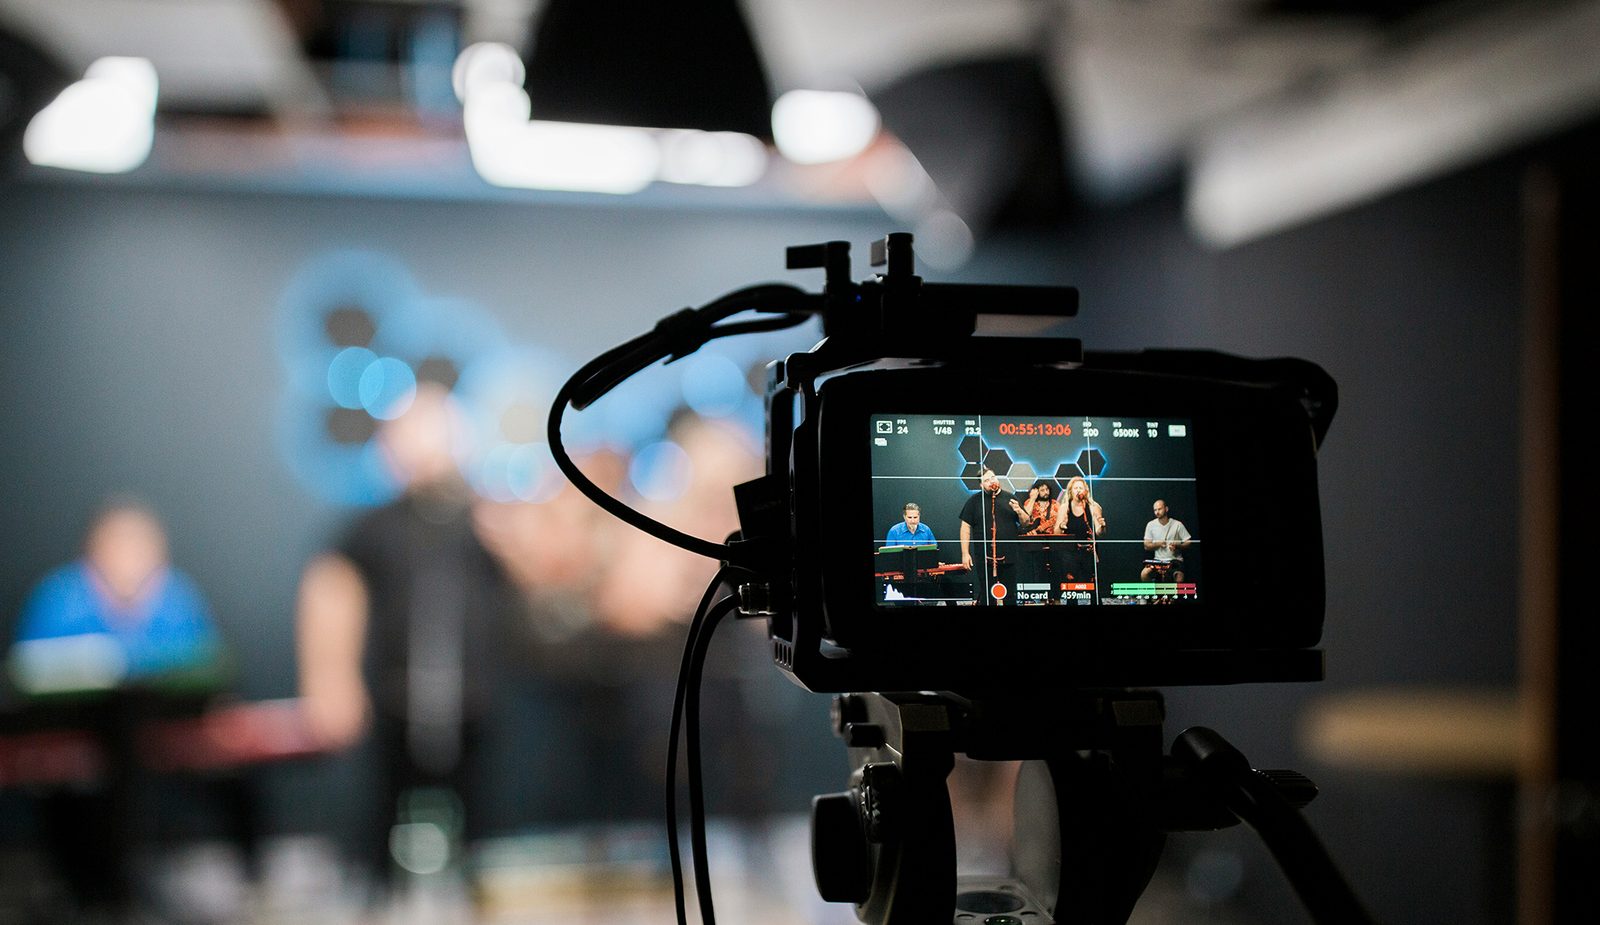
The Initial Puzzlement: Greyed-out Visuals
The initial reaction to seeing log footage can be unsettling for those accustomed to "baked-in" Rec. 709 profiles, which deliver a ready-to-use, aesthetically pleasing image with standard contrast and saturation. Log footage, by contrast, often looks flat, desaturated, and low in contrast. This visual characteristic is precisely its strength, as it indicates that the camera has captured the maximum possible luminance (light) data without crushing shadows or blowing out highlights.
The Science of Log: Maximizing Dynamic Range and Luma Data
Log profiles are engineered to capture a wider range of tones than standard video formats. Digital cameras, much like film, have a finite dynamic range – the difference between the brightest and darkest areas they can capture before detail is lost. When shooting in a standard Rec. 709 profile, the camera’s internal processing compresses this dynamic range into a narrower spectrum, often sacrificing detail in extreme highlights and shadows.
Log profiles, developed by various camera manufacturers (e.g., Sony S-Log, Canon C-Log, Panasonic V-Log, ARRI Log C), map the sensor’s linear light capture to a logarithmic curve. This process allocates more digital information (bit depth) to the mid-tones, highlights, and shadows, effectively squeezing a much larger dynamic range into the video file. By stripping away much of the saturation and contrast, log profiles ensure that a broader spectrum of color and light information is preserved, making the footage highly malleable during the color grading process. This is particularly crucial for scenes with challenging lighting conditions, such as high-contrast outdoor environments.
Workflow Post-Capture: From Log to Rec. 709 and Beyond with LUTs
The power of log footage lies in its potential for color grading. Unlike standard footage where color adjustments are limited by the initial compression, log footage provides a vast canvas for creative manipulation. The workflow typically involves:
- Correction: The first step is to "normalize" the log footage, converting it back from its flat, desaturated state into a visually pleasing image. This is often achieved by applying a Look-Up Table (LUT). A LUT is essentially a mathematical formula that transforms color values. Many camera manufacturers provide specific conversion LUTs (e.g., S-Log3 to Rec. 709) that serve as a starting point, restoring contrast and saturation to a standard appearance.
- Grading: Once the footage is normalized, the creative color grading process begins. This involves adjusting hues, saturation, luminance, and contrast to achieve a specific aesthetic, mood, or to match footage shot on different cameras. The higher bit depth (e.g., 10-bit or 12-bit) often associated with log recording provides a much smoother transition between colors and tones, preventing banding and allowing for more aggressive adjustments without breaking the image.
Even if log footage was shot by mistake, the process of restoring its colors is straightforward. Applying a basic conversion LUT to Rec. 709 in any video editing software (e.g., DaVinci Resolve, Adobe Premiere Pro, Final Cut Pro) will bring the colors back to a standard, broadcast-ready appearance, salvaging footage that might otherwise seem unusable.
Strategic Choice: When to Embrace Log and When to Opt for Standard Profiles
The decision to shoot in log format should be a conscious one, guided by the project’s requirements and the videographer’s post-production capabilities.
- Embrace Log When:
- Maximum dynamic range is critical (e.g., high-contrast scenes, HDR delivery).
- Extensive color grading and creative stylization are planned.
- Footage from multiple cameras needs to be matched.
- The final output requires a professional, cinematic look.
- There is dedicated time and expertise for post-production.
- Opt for Standard Profiles (Rec. 709) When:
- A quick turnaround is needed, and minimal post-production is desired.
- The lighting conditions are controlled and consistent.
- The videographer is new to color grading or lacks the necessary software/skills.
- The primary output is for platforms that don’t benefit from extensive grading (e.g., quick social media posts).
Understanding log footage transforms a perceived problem into a powerful creative tool, empowering videographers to capture and manipulate light and color with a degree of control previously reserved for high-end cinema productions.
Ensuring Seamless Visuals: Combating Choppy Playback
The smooth, continuous flow of motion is a hallmark of professional video. Conversely, footage that appears choppy, stuttered, or exhibits unnatural motion blur can be highly distracting and undermine the viewer’s experience. This common issue, often encountered by those new to videography, typically stems from one of two primary technical misconfigurations: an incorrect frame rate or insufficient media transfer speeds. Addressing these fundamentals is crucial for achieving fluid, visually pleasing motion.
The Frustration of Stuttered Motion
Imagine a smoothly panning shot suddenly becoming a series of jerky still images, or a fast-moving subject appearing to jump across the frame rather than glide. This "choppy" aesthetic is not merely an inconvenience; it actively disrupts the illusion of motion, which is the very essence of video. It can make fast-paced action sequences look amateurish and even render subtle movements difficult to interpret, ultimately diminishing the storytelling potential of the footage.
Frame Rate Fundamentals: Setting the Pace for Smoothness
The first and most common culprit behind choppy video is an improperly set frame rate. Frame rate refers to the number of individual still images (frames) captured or displayed per second (FPS). The human eye perceives continuous motion at around 24 FPS and above. Different frame rates are used for different aesthetic and technical purposes:
- 24 FPS (23.976 FPS): This is the traditional standard for cinematic film, offering a slightly softer, more "filmic" motion blur. It is often preferred for narrative storytelling due to its classic aesthetic.
- 25 FPS (PAL standard): Used in regions adhering to the PAL television standard.
- 30 FPS (29.97 FPS, NTSC standard): A common frame rate for broadcast television, news, documentaries, and corporate videos in regions using the NTSC standard. It provides a crisp, "live" feel and is generally recommended as a minimum for smooth video playback, especially for content intended for online platforms where a "broadcast" look is often desired.
- 50/60 FPS (59.94 FPS): These higher frame rates are excellent for capturing fast-moving action, sports, or for producing slow-motion effects. When recorded at 60 FPS and then played back at 30 FPS, the footage will appear to be in half-speed, offering a smooth, detailed slow-motion sequence.
- 120 FPS and higher: Used exclusively for extreme slow-motion effects, capturing incredibly detailed movement that can be stretched out significantly in post-production.
If a video is recorded at a low frame rate (e.g., 15 FPS) and played back at a standard rate, the lack of intermediate frames will result in a noticeably choppy appearance. Most modern cameras default to a usable frame rate, but it is imperative for videographers to consistently verify this setting before recording, especially when switching modes or using custom profiles. For general purpose video, 30 FPS or higher is a safe baseline.
The 180-Degree Shutter Rule: Achieving Natural Motion Blur
Beyond the raw frame rate, the relationship between frame rate and shutter speed also significantly impacts perceived motion smoothness. The "180-degree shutter rule" is a widely adopted guideline in videography. It suggests that the shutter speed should be set to approximately double the frame rate (e.g., if shooting at 30 FPS, the shutter speed should be 1/60th of a second; at 24 FPS, 1/48th or 1/50th of a second).
Adhering to this rule ensures that each frame contains a natural amount of motion blur, mimicking how the human eye perceives movement. Deviating from this – for instance, using a much faster shutter speed (e.g., 1/1000th of a second) – will result in each frame being too sharp, creating a "stroboscopic" or "jittery" effect, even at high frame rates. Conversely, a much slower shutter speed can lead to excessive motion blur, making the image appear smeared.
High-Speed Media: The Unsung Hero of High-Resolution Capture
The second critical factor contributing to choppy footage, particularly with higher resolution (4K, 8K) or high frame rate (HFR) recording, is the use of memory media that cannot keep pace with the camera’s data output. Video recording, especially at high resolutions and with demanding codecs, generates an immense amount of data per second. If the camera’s memory card or internal storage cannot write this data quickly enough, the recording process will stutter, drop frames, or even stop prematurely, resulting in incomplete or choppy footage.
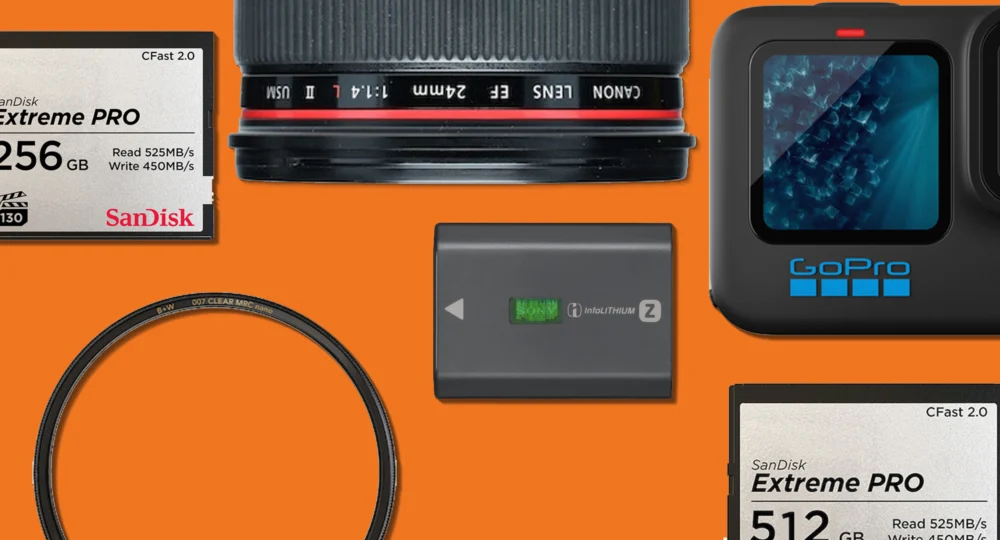
Memory cards and external hard drives are rated for their read and write speeds, typically measured in megabytes per second (MB/sec). For video, the write speed is paramount. Modern video cameras, especially those recording in 4K or higher, require cards with sustained high write speeds. Standard SD cards often have variable speed classes:
- Class 10 (C10): Minimum 10 MB/sec write speed.
- UHS Speed Class 1 (U1): Minimum 10 MB/sec write speed.
- UHS Speed Class 3 (U3): Minimum 30 MB/sec write speed.
- Video Speed Class (V-class): Specifically designed for video, these ratings guarantee minimum sustained write speeds: V10 (10 MB/s), V30 (30 MB/s), V60 (60 MB/s), V90 (90 MB/s).
For 4K recording, a V30 card is often the minimum requirement, with V60 or V90 cards highly recommended for consistent performance and higher bitrates. Some professional cameras utilize faster media like CFexpress or CFAST cards for extremely high data rates.
It is crucial to consult the camera manufacturer’s specifications for recommended card speeds for specific recording formats and resolutions. Investing in the fastest memory cards available, even if seemingly overkill for current shooting settings, offers significant future-proofing. As camera technology advances towards higher resolutions and more complex codecs (e.g., H.264, H.265, ProRes), data rates will only increase. A high-speed card ensures reliable performance across a wider range of recording scenarios and prevents frustrating interruptions or corrupted footage.
Conclusion: The Path to Videographic Mastery
The journey into videography, whether for a burgeoning hobbyist or an aspiring professional, is characterized by a continuous process of learning and refinement. The common challenges of shaky footage, inadequate audio, perplexing log formats, and choppy playback are not insurmountable obstacles but rather foundational technical hurdles that, once understood and addressed, pave the way for significantly elevated production quality.
Mastering these core technical aspects—from selecting the appropriate stabilization tools and understanding the nuances of frame rates and shutter speeds, to strategically employing external audio equipment and embracing the power of log recording—is not merely about operating gear. It is about understanding the underlying principles that govern visual and auditory perception, and leveraging technology to craft compelling, immersive, and professional-grade video content.
The current landscape of content creation places an unprecedented emphasis on high-quality video. Audiences have grown accustomed to polished productions, and the technical flaws discussed herein can quickly undermine even the most creative vision. By systematically addressing these common pitfalls, videographers can ensure their work stands out, communicates effectively, and ultimately achieves its intended impact. The interconnectedness of technical prowess and artistic vision forms the bedrock of videographic mastery, encouraging continuous experimentation, learning, and an unwavering commitment to excellence in every frame and every sound byte.